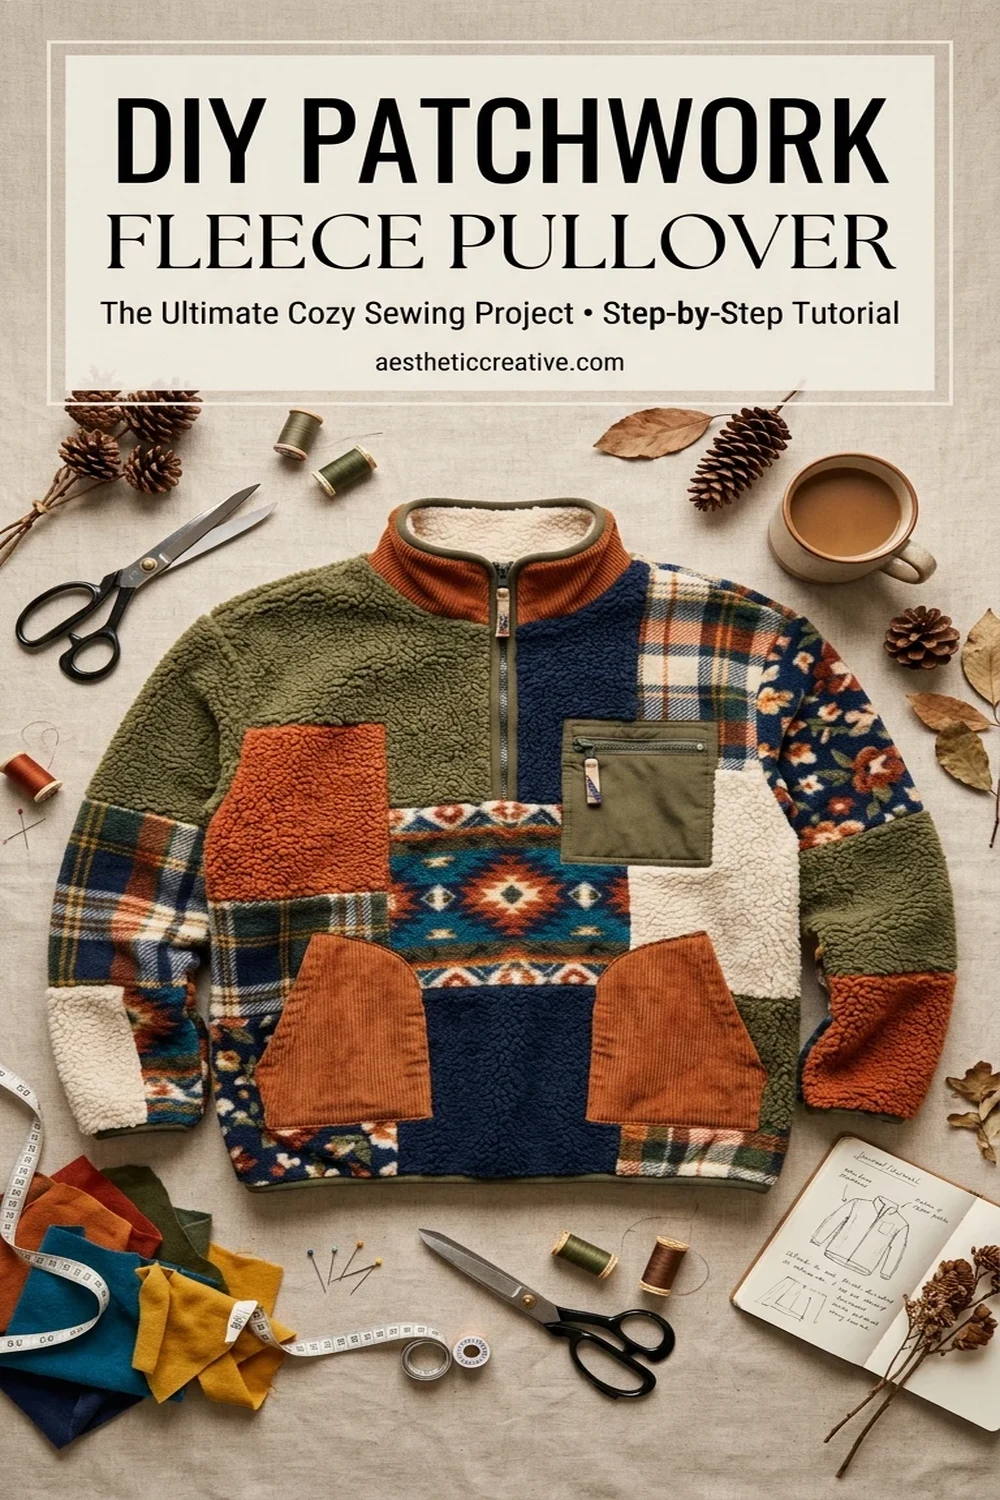
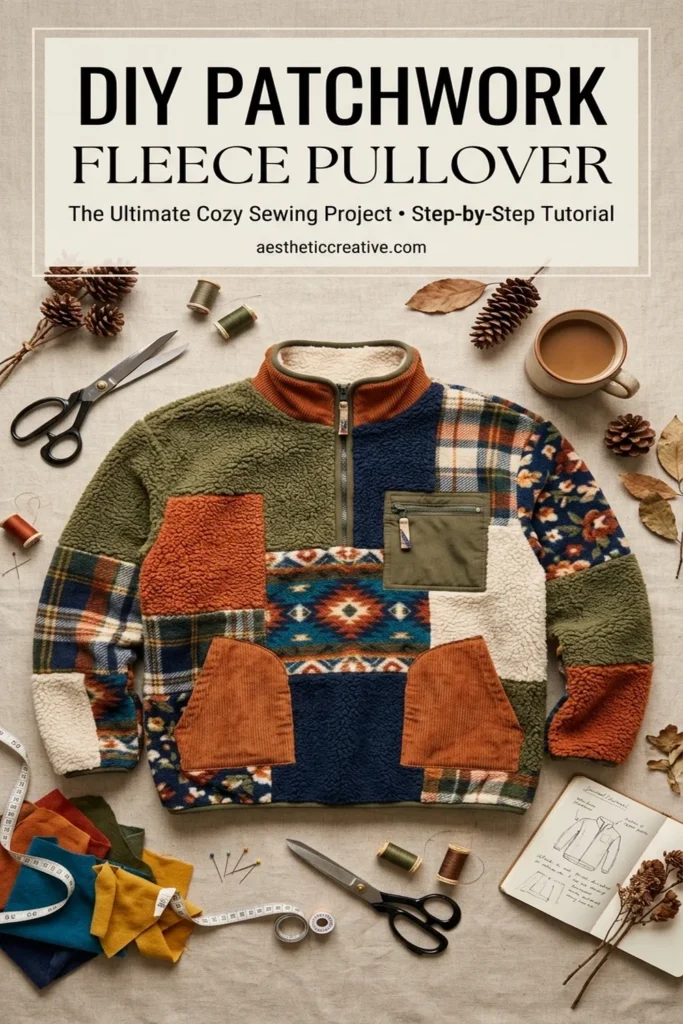
15 Best Patchwork Sweatshirt DIY Ideas for 2026
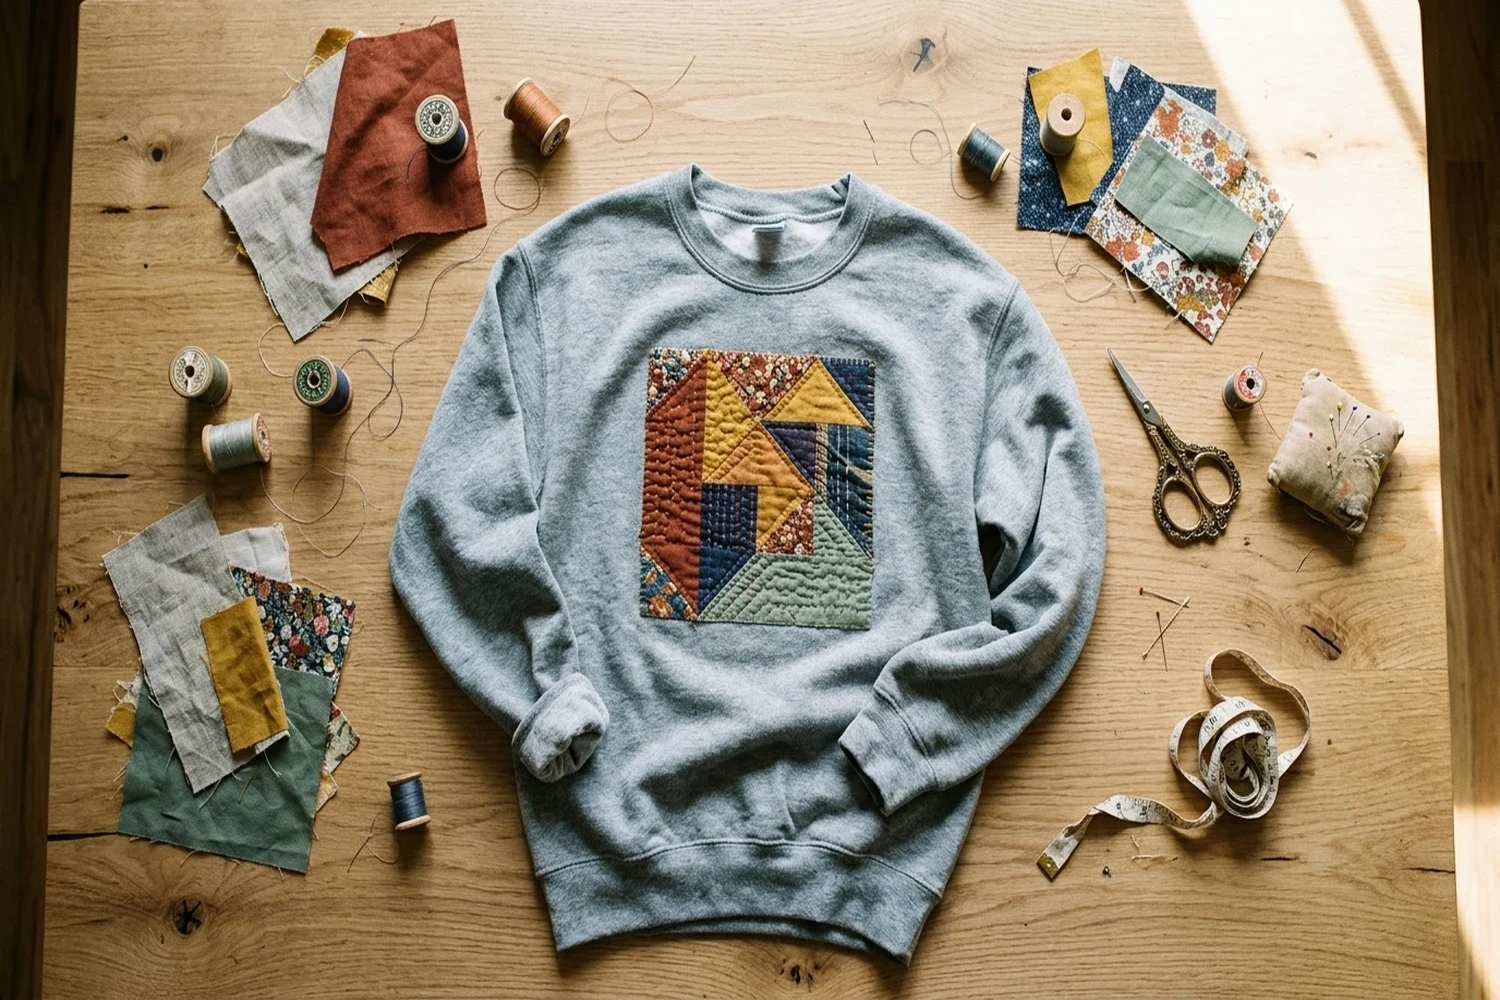
Creating a custom patchwork sweatshirt is the most effective way to upcycle plain fleece into bespoke streetwear without sewing an entire garment from scratch. By stabilizing stretchy knit fabrics and pre-piecing intricate scrap designs before stitching, crafters achieve professional, ripple-free results every time.

1. What to Do Before You Start a Patchwork Sweatshirt Project
Pre-washing your base garment and pre-piecing your fabric blocks prior to assembly is essential to prevent warping and uneven shrinking during future wash cycles. Taking proper preparatory measures eliminates tension issues between contrasting knit and woven textiles.
- Pre-Wash Garments: Launder the base fleece and cotton scraps separately to eliminate residual manufacturing finishes and pre-shrink fibers.
- Pre-Assemble Blocks: Piece small scrap blocks on a flat table before introducing them to the bulky garment.
- Inspect Stretch Grain: Check the fleece crosswise elasticity to position patches where fabric distortion remains minimal.
- Press Fabrics Crisp: Iron all patchwork seams flat with steam to avoid unwanted bulk under the presser foot.
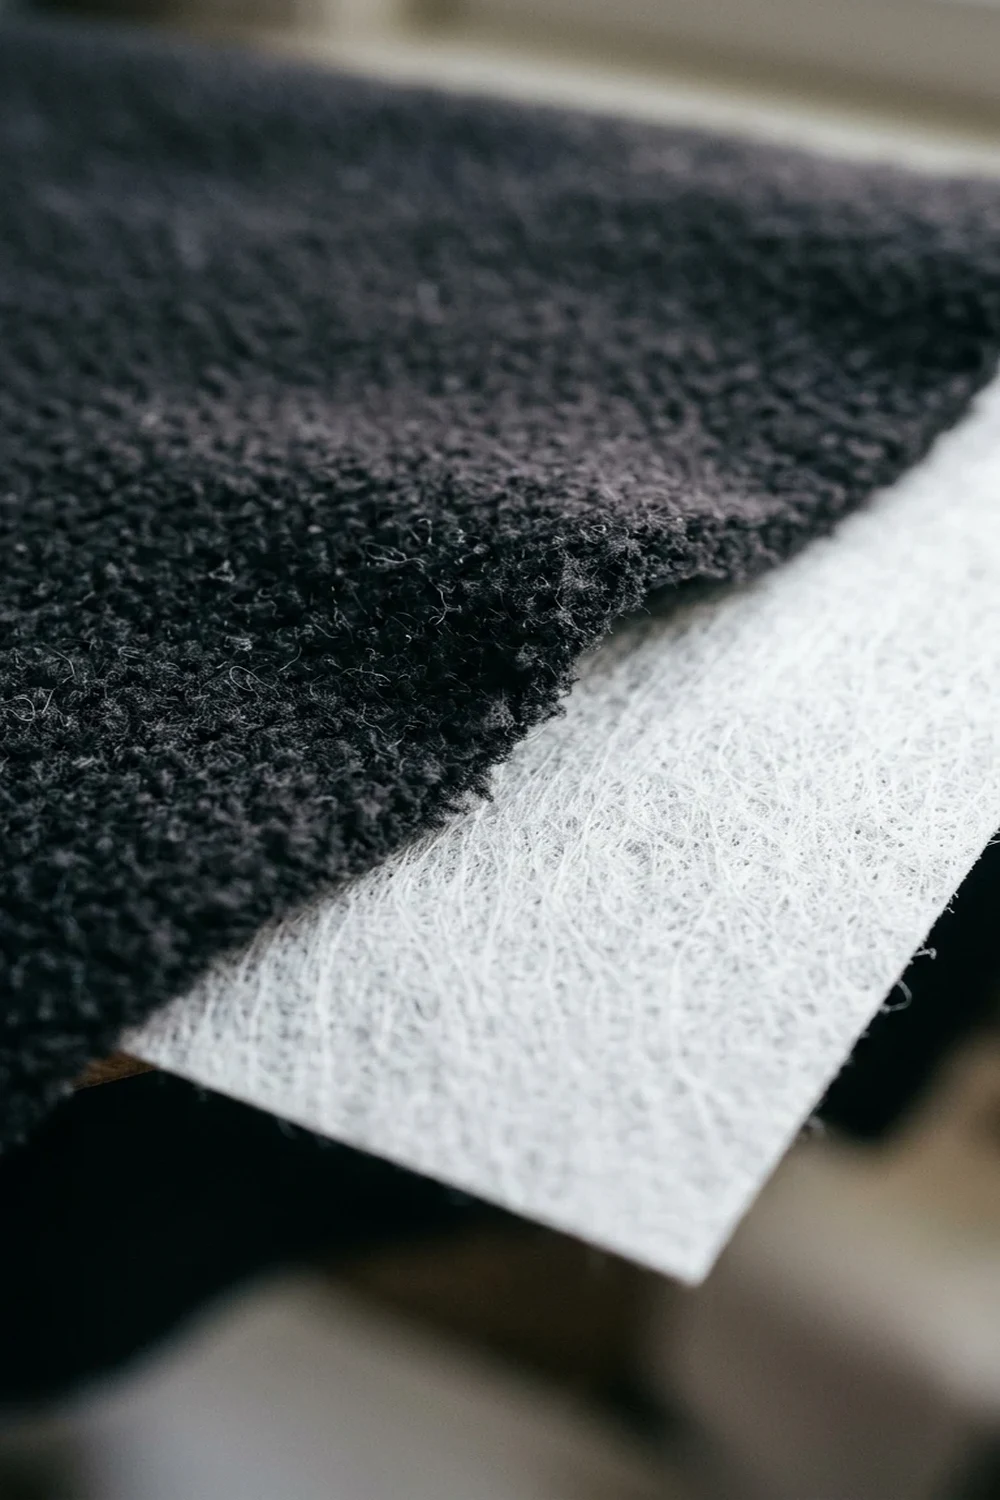
2. What Stabilizer Should You Use on a Sweatshirt for Best Results?
Cut-away stabilizer weighing between 2.5 to 3.0 ounces is the absolute gold standard for supporting decorative stitching on flexible fleece sweatshirts. Using permanent backing prevents mechanical feed dogs and dense thread patterns from puckering stretchy loop-back knit textiles.
- Cut-Away Backing: Provides permanent internal foundation that withstands repeated laundering without degrading stitch stability.
- Weight Selection: Medium-weight 2.5 oz non-woven cut-away works best for standard mid-weight cotton-poly sweatshirts.
- Stretch Elimination: Locks bidirectional knit stretch under the sewing foot to stop decorative borders from rippling.
- Long-Term Structure: Remains behind the motif permanently so heavy appliqués never sag over extended wear.
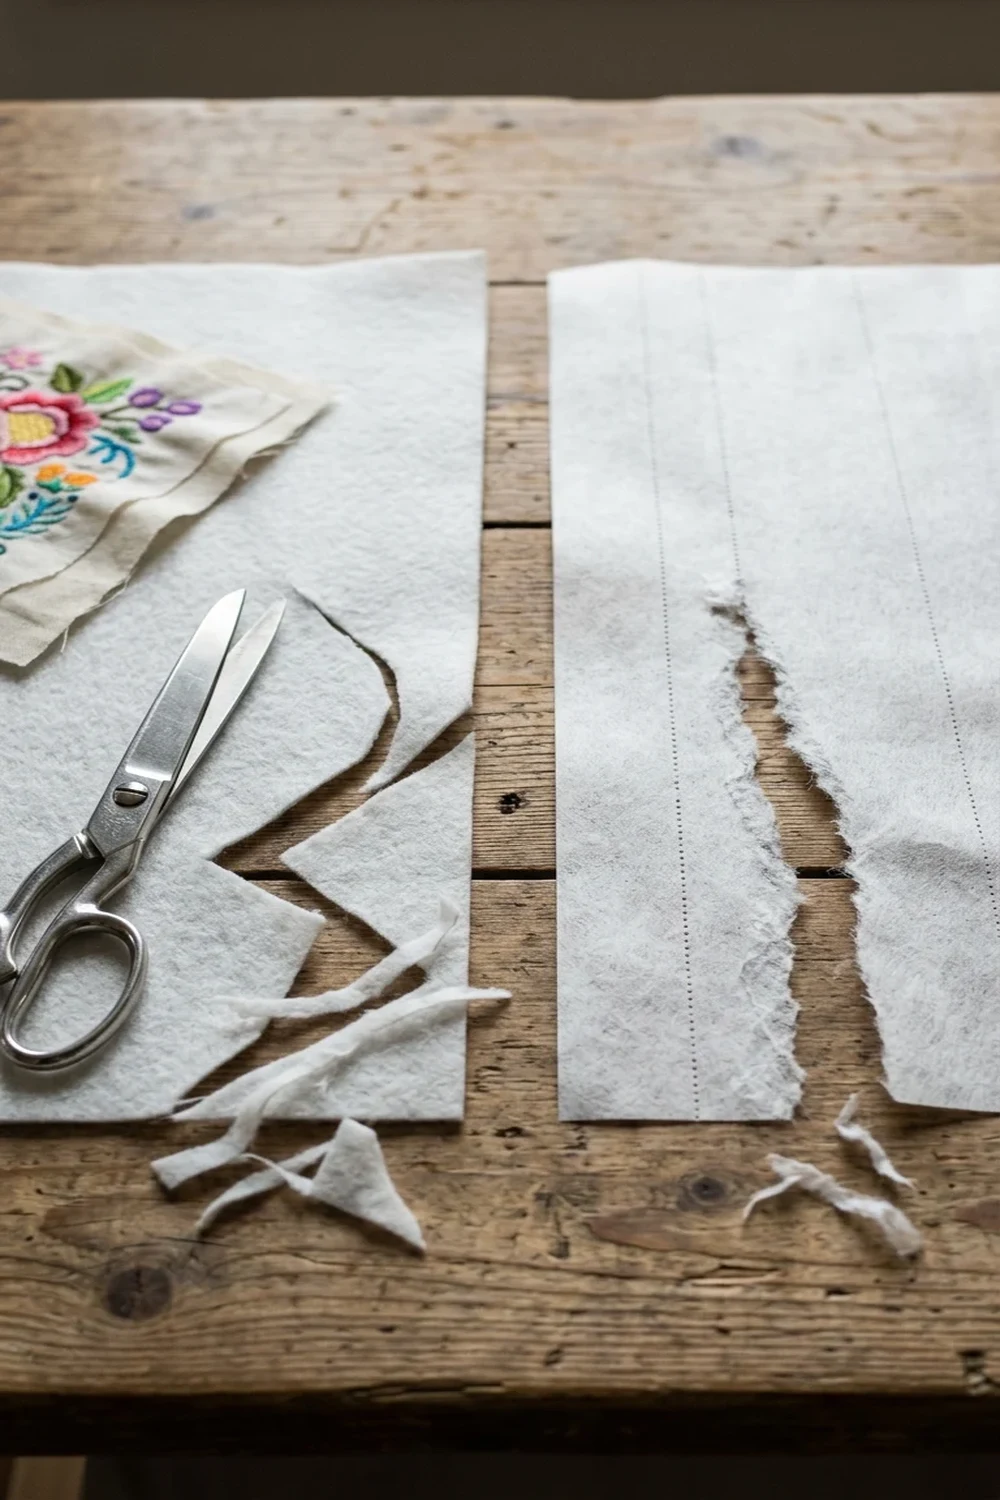
3. Cut-Away vs Tear-Away Stabilizer: Which Performs Better on Fleece?
Cut-away stabilizer decisively outperforms tear-away stabilizer on sweatshirts because knit garments require enduring structural support throughout their usable lifecycle. Once tear-away stabilizer is torn away, decorative stitches lose their dimensional integrity and warp rapidly.
- Cut-Away Retention: Retains 100% of its supportive matrix behind complex stitches across hundreds of laundry cycles.
- Tear-Away Pitfalls: Pulling tear-away backing out stretches delicate loop knits and distorts intricate embroidery outlines.
- Fabric Tensile Compatibility: Flexible knits lack intrinsic rigidity, meaning stitch tension inevitably puckers unbacked fleece.
- Best Use Case: Reserve tear-away sheets exclusively for stiff woven cotton canvas or heavy rigid denim.
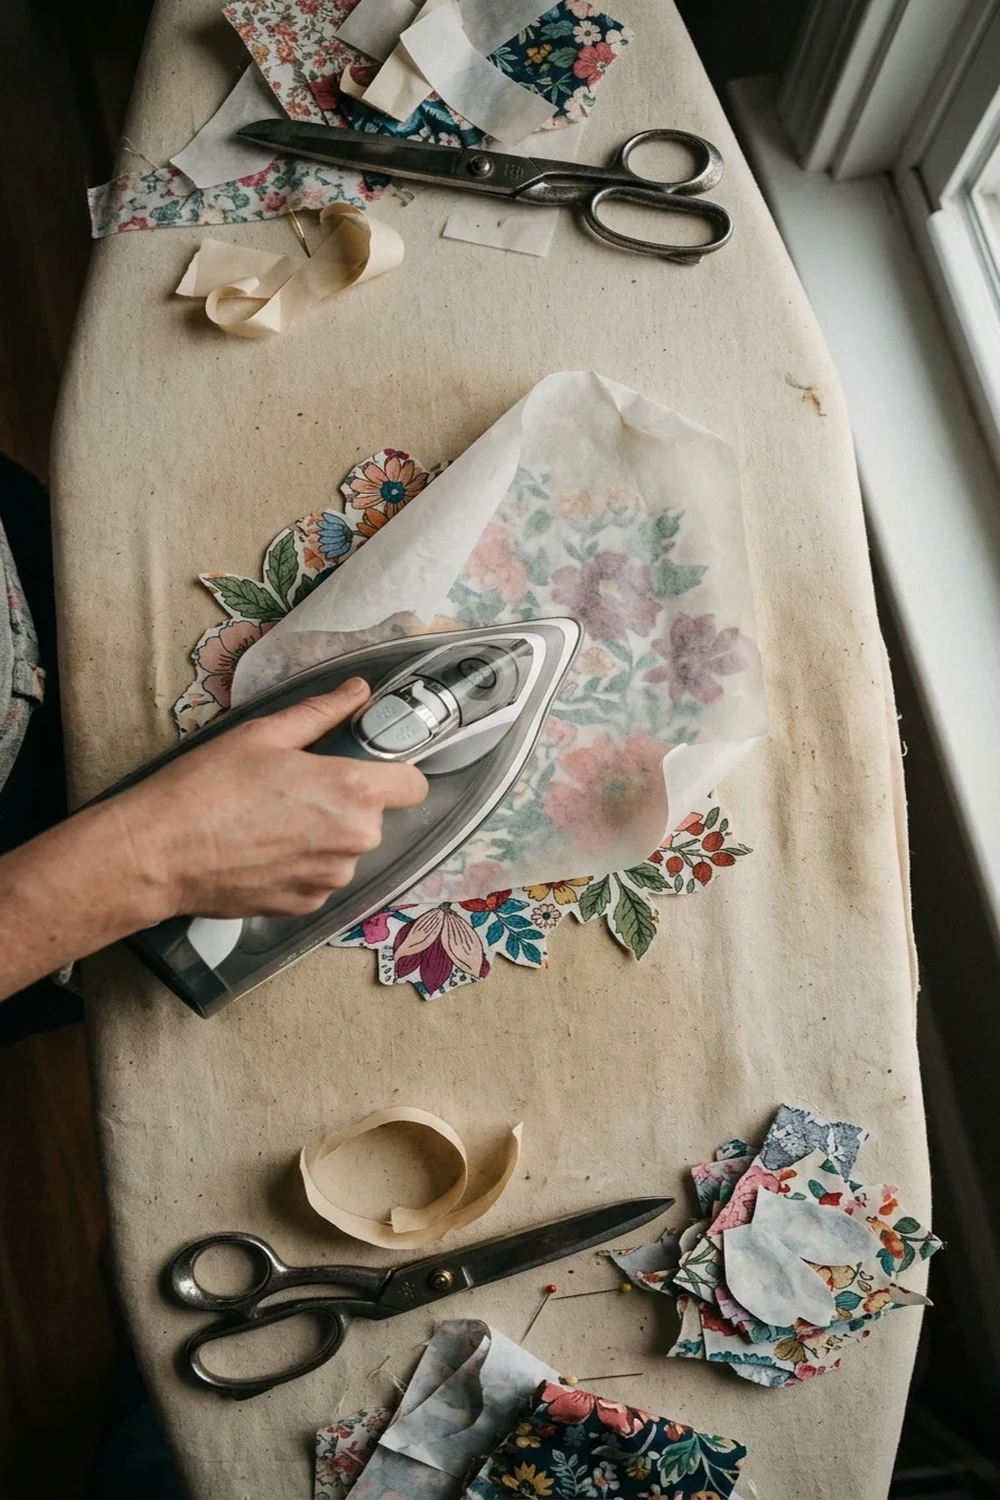
4. Should You Use Fusible Web Too for Sweatshirt Appliqué?
Pairing double-sided fusible web with a mechanical stabilizer is highly recommended to eliminate fabric shifting while sewing intricate patchwork motifs. Heat-activated fusible adhesive acts as a temporary bonding agent that keeps delicate scraps perfectly aligned without excessive pinning.
- Zero Pin Shifting: Temporarily bonds fabric edges securely to fleece surfaces, eliminating bunching under the presser foot.
- Clean Edge Trimming: Seals cut woven edges prior to stitching, noticeably reducing premature thread unraveling.
- Dual-Layer Synergy: Fusible web anchors the decorative patch on top while stabilizer anchors the fleece underneath.
- Lightweight Selection: Use lightweight paper-backed adhesive webs to keep garment panels supple rather than board-stiff.
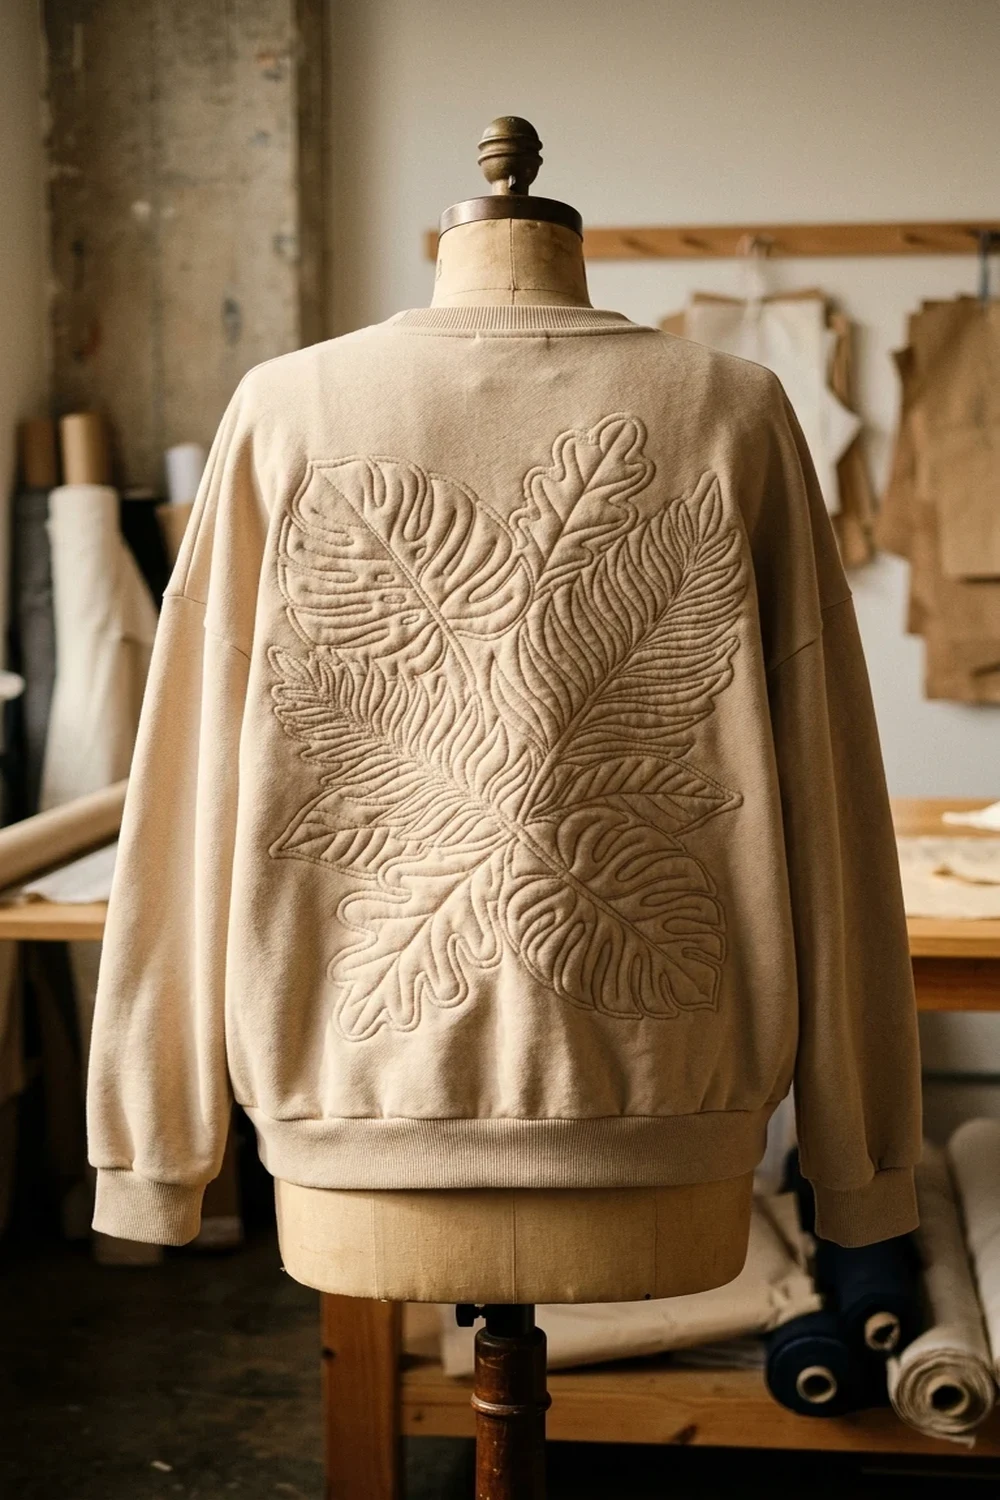
5. How to Design an Eye-Catching Appliqué Back Motif
An oversized statement appliqué across the upper back transforms a generic fleece pullover into an intentional designer centerpiece. Dividing bold graphic silhouettes into distinct scrap-filled segments allows you to utilize diverse textile prints harmoniously.
- Silhouette Selection: Opt for bold graphic shapes like arching florals, botanical leaves, or clean geometric silhouettes.
- Paper Prototyping: Sketch the full-scale outline on butcher paper and audition it against the garment back before cutting.
- Segmented Piecing: Divide the large master template into 4 to 8 manageable scrap fabric sections for visual interest.
- Stabilizer Placement: Float a wide sheet of cut-away stabilizer beneath the entire back panel to keep broad seams completely flat.
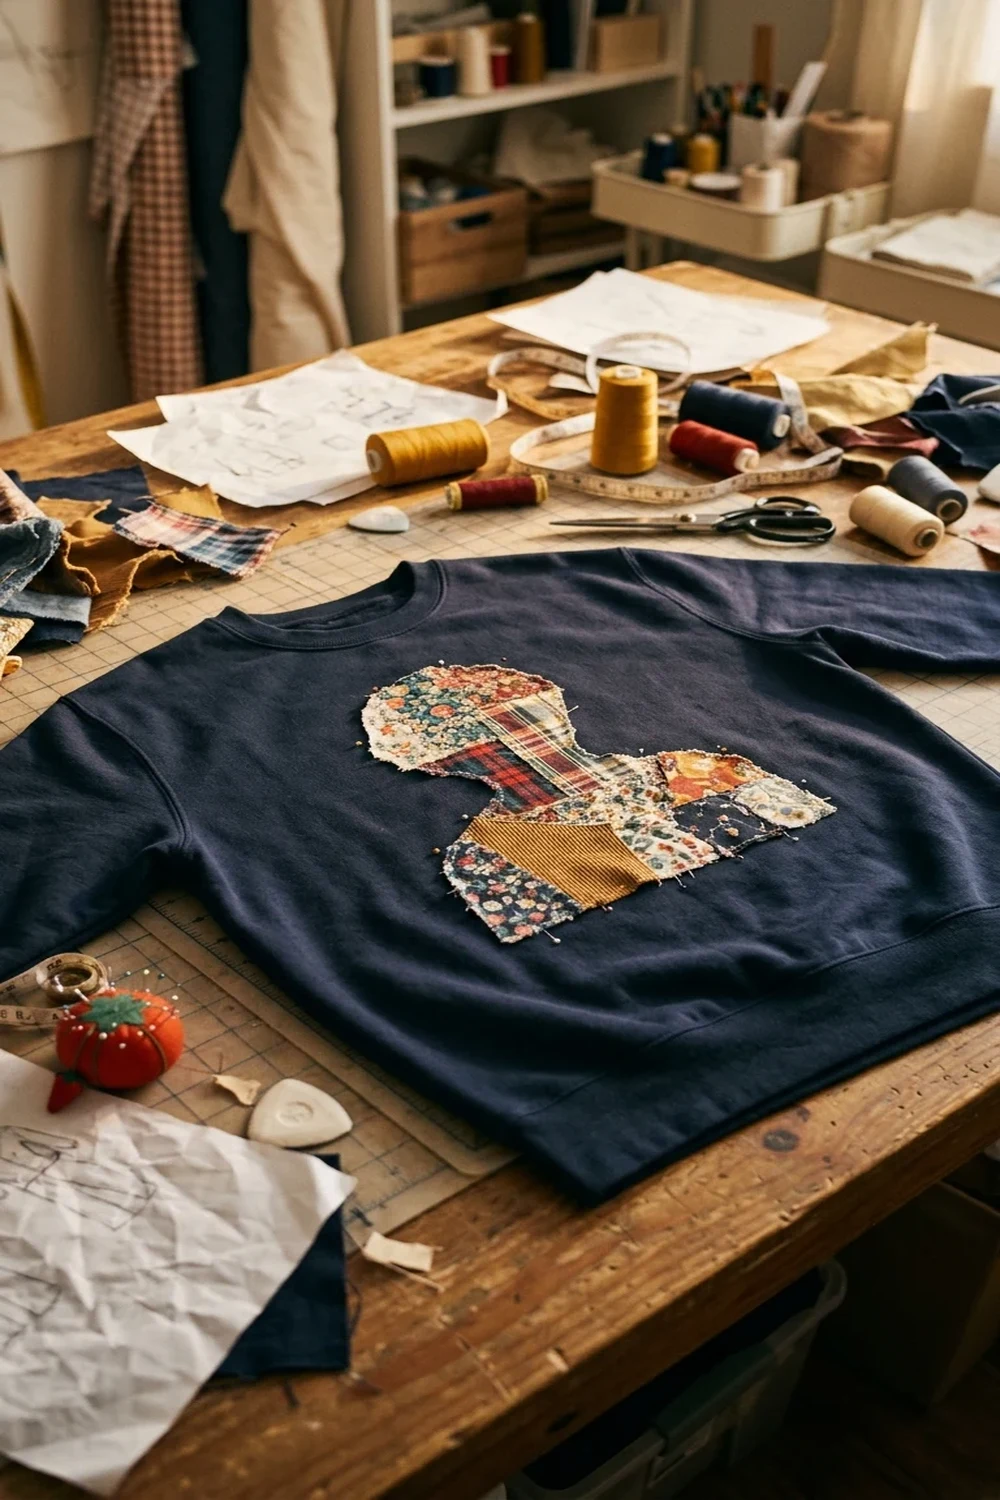
6. How to Build a Custom Patchwork Character Panel
Crafting a patchwork character panel involves pre-assembling multiple fabric remnants into a cohesive sheet before tracing and cutting your final character shape. Pre-piecing ensures crisp graphic silhouettes while highlighting vibrant textile mosaics within the interior.
- Master Sheet Assembly: Sew 15 to 25 contrasting fabric off-cuts into a flat master patchwork fabric rectangle.
- Trace Silhouette: Lay an acrylic or cardboard character outline over the pieced panel to capture optimal print placements.
- Cut Single Outline: Cut the full character silhouette simultaneously so outer edges remain pristine and uninterrupted.
- Fuse and Outline: Iron the character shape onto the chest panel using fusible web, then secure it with a dense perimeter border.
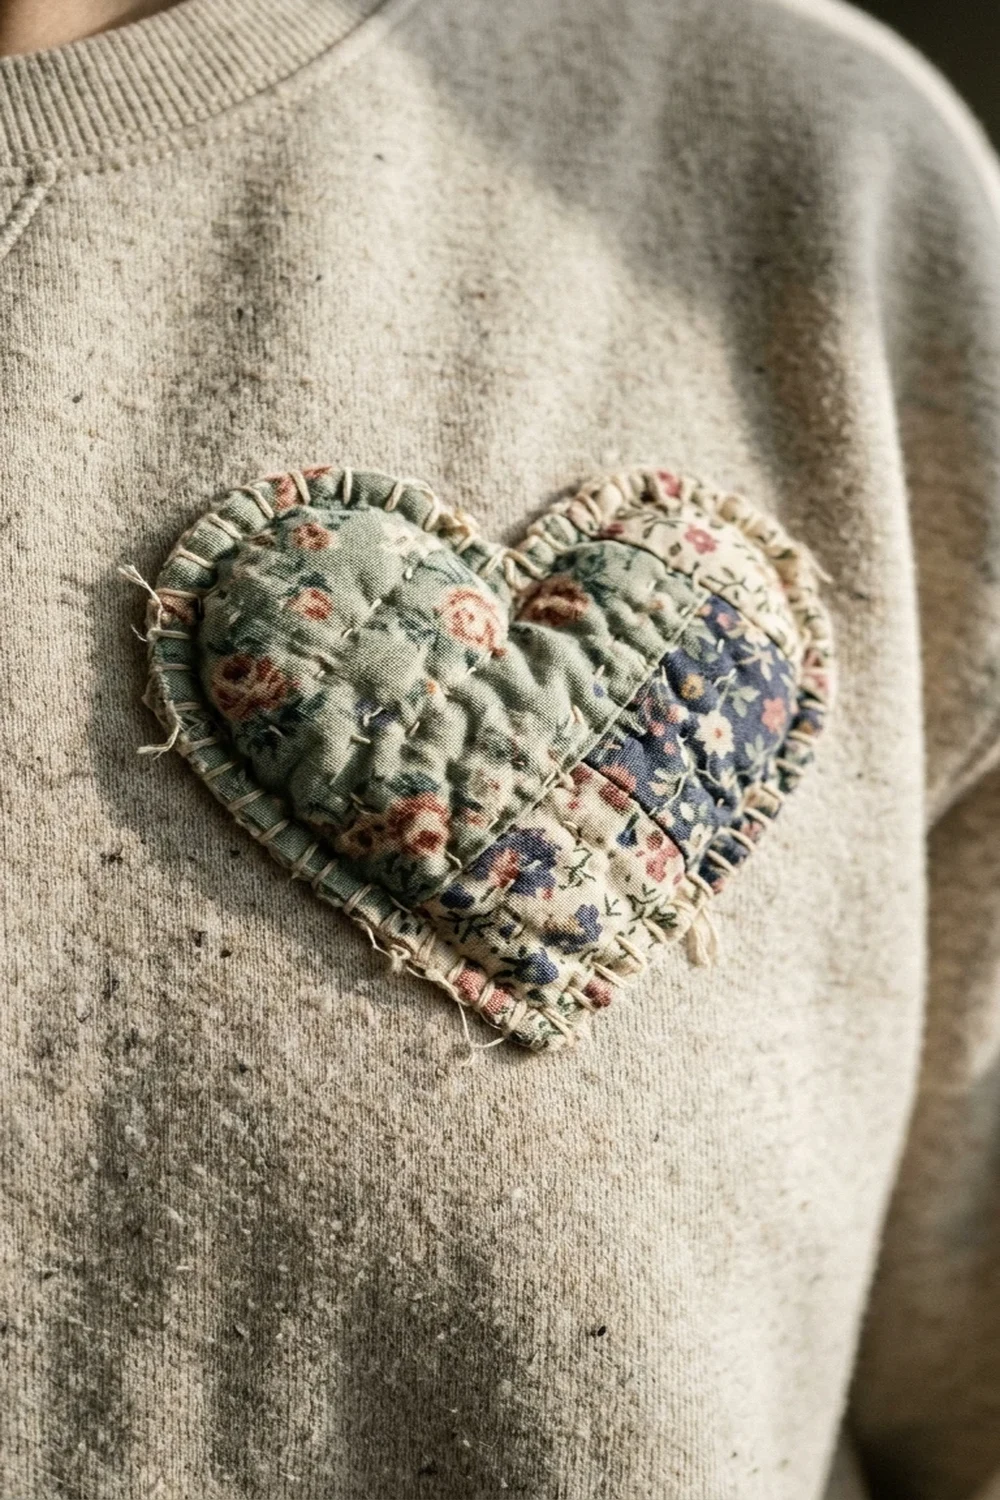
7. How to Create a Dimensional Quilted Heart Patch
A quilted heart patch introduces cozy tactile dimension to simple knitwear by layering lightweight cotton batting directly behind pieced scraps. This mini-quilt approach creates a soft, pillowy texture that stands out prominently against standard fleece.
- Mini-Quilt Sandwich: Layer your pieced fabric top, 1/8-inch low-loft cotton batting, and lightweight muslin backing.
- Quilting Grid Lines: Machine-stitch diagonal hatch lines or decorative channels through all three sandwich layers.
- Heart Template Cut: Trace and cut your heart shape directly from the pre-quilted block for crisp symmetry.
- Border Finishing: Stitch the dimensional heart onto the sweatshirt chest using a tight edge-stitch or raw-edge stay-stitch.
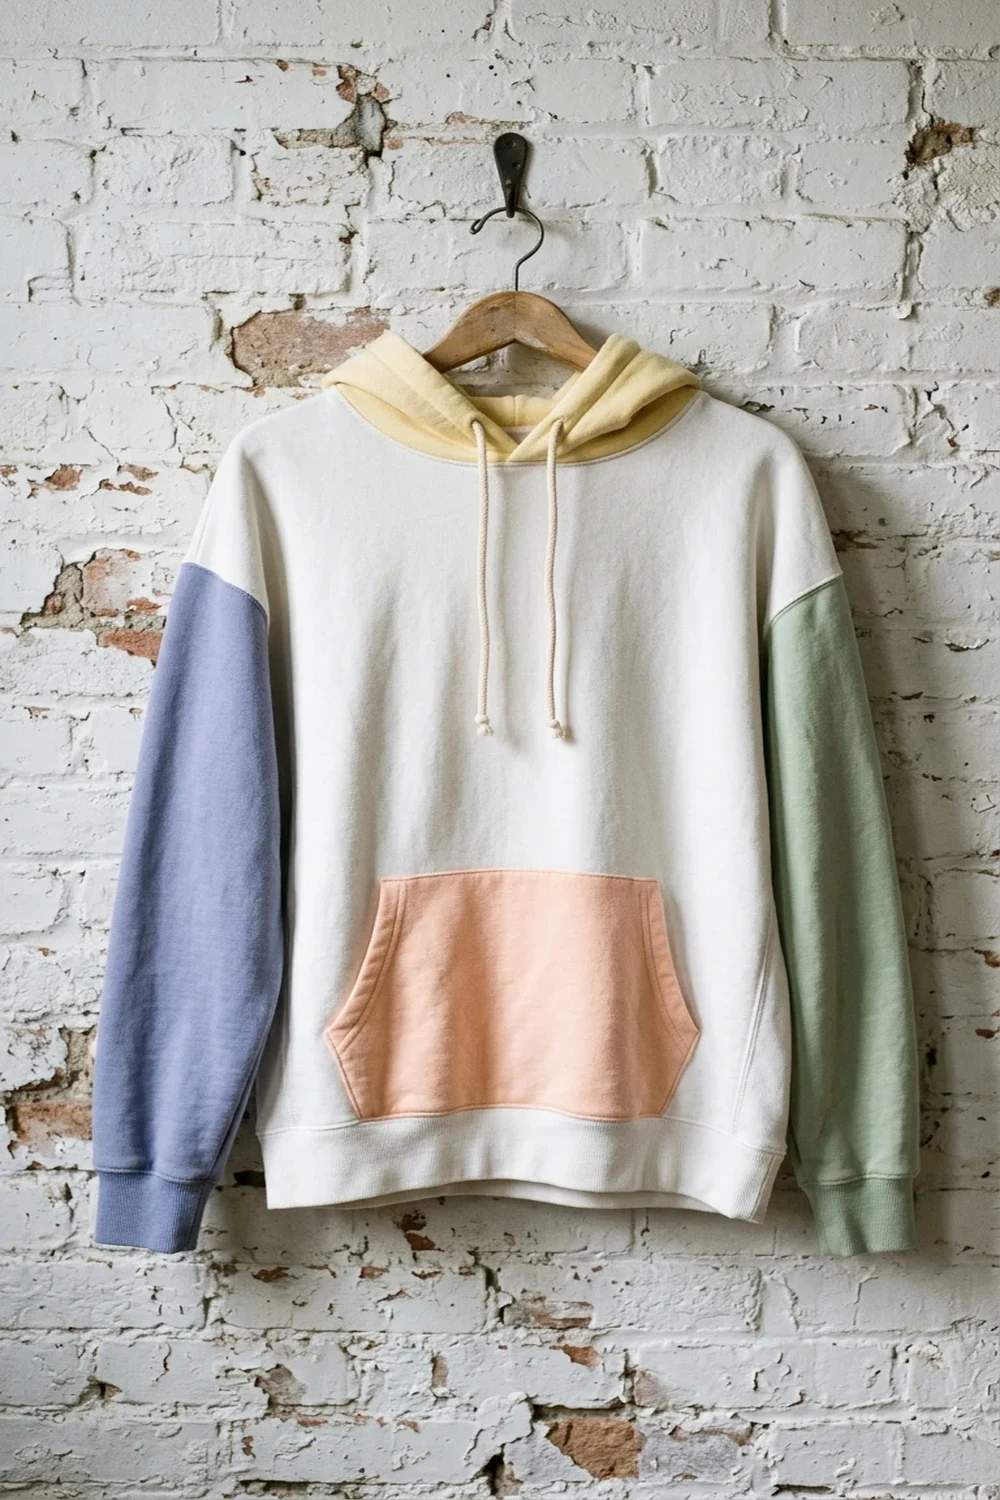
8. How to Construct a Colorblock Statement Hoodie
A colorblock statement hoodie replaces or covers major structural panels such as sleeves, kangaroo pockets, or hoods with contrasting fabrics. Appliquéing large scrap sections over existing panels delivers an architectural aesthetic without requiring full garment deconstruction.
- Strategic Panel Selection: Target kangaroo pockets, hood exteriors, or forearm sleeves for maximum visual impact.
- Overlay Technique: Baste contrasting knit or denim pieces directly over existing garment panels to avoid rebuilding seams.
- Cohesive Color Palette: Stick strictly to three or four harmonious hues to maintain a polished, curated garment tone.
- Stretch Consistency: Match the flex ratio of colorblock accent panels with the sweatshirt body to avoid rippling.

9. How to Sew a Casual Raw-Edge Heart on Fleece
Sewing a raw-edge heart patch delivers a relaxed, vintage-inspired aesthetic that softens and develops charming feathery fringes over time. Running parallel straight stitches just inside the perimeter secures the fabric while encouraging controlled edge fraying.
- Single-Layer Piecing: Sew strip scraps together flat and press all seam allowances firmly open to reduce bulk.
- Cut Raw Heart: Cut out the heart silhouette leaving outer textile edges completely unhemmed and raw.
- Dual Inset Stitches: Sew one line of straight stitching 1/8 inch from the edge, followed by a second reinforcement line 1/4 inch in.
- Launder for Texture: Machine-wash the finished garment immediately to blossom soft, frayed fiber edges safely.
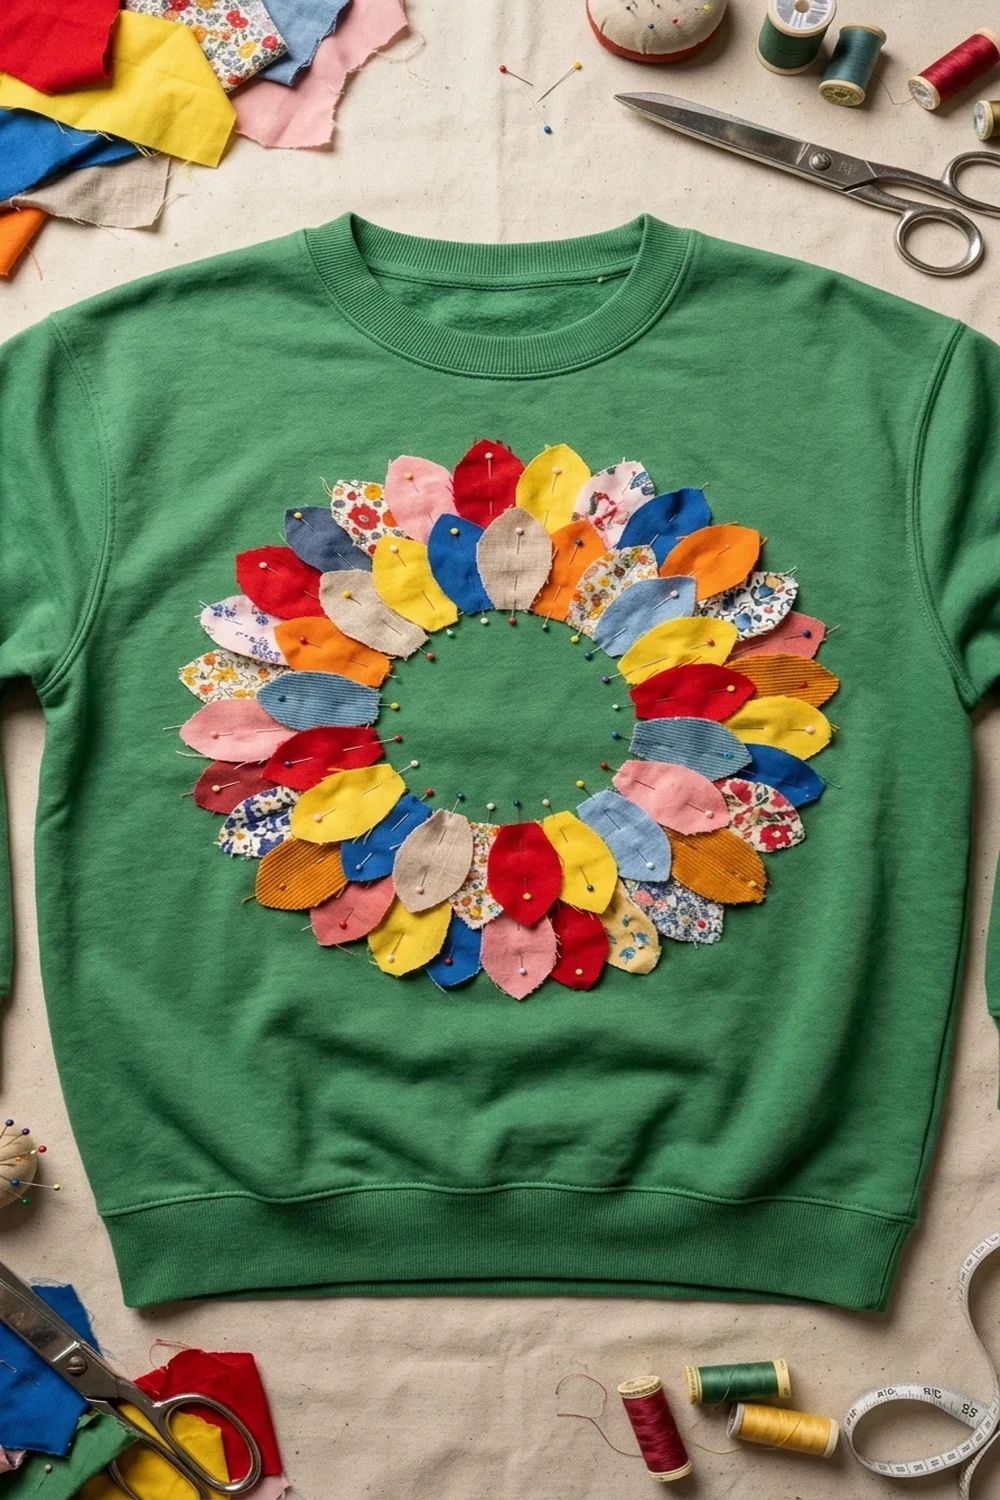
10. How to Arrange a Balanced Wreath Patch Layout
A circular patchwork wreath layout establishes an elegant, centered focal point on crewneck fleece by arranging radial petal or leaf shapes around a negative-space core. Balancing textile weights across the circular template prevents off-center sagging or bunching.
- Radial Paper Guide: Chalk a light 8-inch circular perimeter guideline directly onto the sweatshirt chest center.
- Symmetrical Wedge Cuts: Cut identical petal, leaf, or wedge shapes using an assortment of coordinated patterned scraps.
- Dry Layout Balance: Arrange pieces around the circular outline, adjusting color distribution before activating adhesive.
- Center Anchoring: Press the pieces down lightly with fusible web, then stitch each segment from the inner ring outward.

11. How to Sew a Geometric Quilt Star on a Crewneck
Stitching a classic geometric quilt star onto a crewneck gives traditional American folk quilting a fresh, contemporary streetwear aesthetic. Constructing the multi-point star block separately ensures all angular intersection points remain sharp, flat, and mathematically precise.
- Block Pre-Assembly: Piece half-square triangles into an eight-point star or Ohio star unit on your sewing machine.
- Seam Flattening: Press every internal seam open with a dry iron and tailored wooden clapper to achieve paper-thin joints.
- Trim to Shape: Square the completed star block with a rotary ruler or trim cleanly around the multi-pointed perimeter.
- Secure Application: Position the star block squarely across the upper breast and topstitch neatly 1/16 inch from the edge.

12. How to Personalize Sweatshirts with Patchwork Name Letters
Patchwork name lettering delivers bold collegiate personalization by turning an assortment of tiny fabric scraps into custom graphic alphabet blocks. Utilizing thick collegiate fonts ensures letters are easy to cut accurately and simple to trace along borders.
- Bold Typography Choice: Select heavy sans-serif block letter stencils at least 3 to 4 inches tall for clean legibility.
- Scrappy Base Panel: Sew small assorted print strips together until you form a composite fabric sheet for your letters.
- Mirror-Trace Letters: Trace letter templates backwards onto paper-backed fusible web before ironing onto the scrap panel back.
- Perimeter Edge Stitch: Cut each alphabet letter crisply and outline with a narrow zigzag or satin border on your sweatshirt.
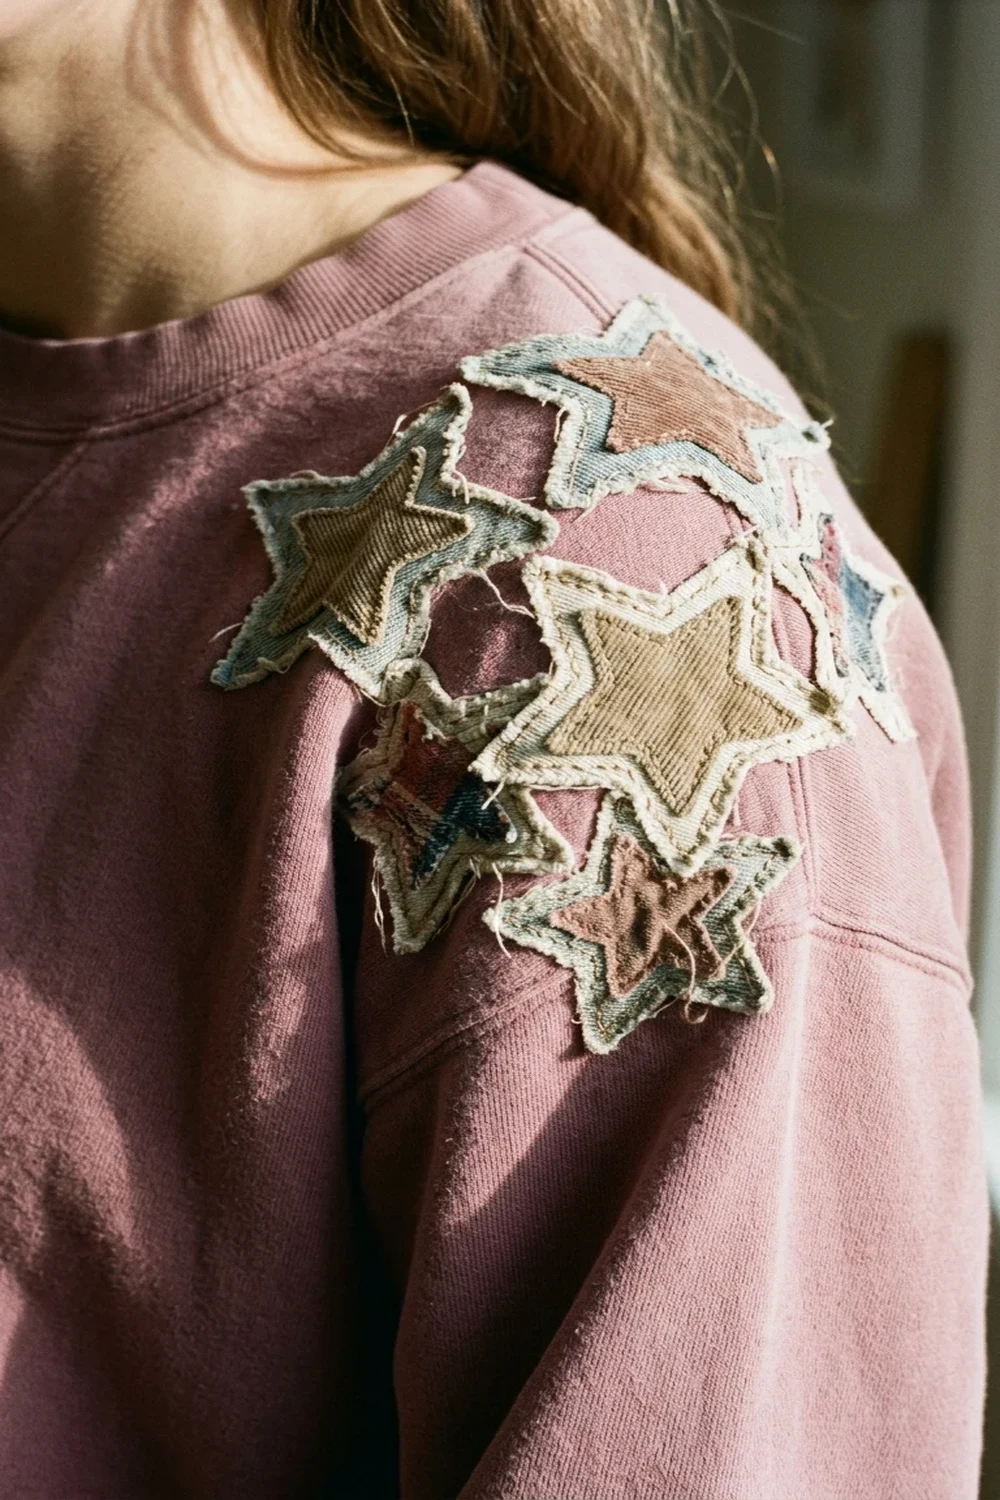
13. How to Style Dimensional Layered Star Patches
Layered star patches provide subtle celestial accents across shoulders, cuffs, and necklines by stacking smaller fabric stars atop contrasting larger stars. Offsetting rotation angles creates visual depth and dimension across otherwise unused garment zones.
- Staggered Scale Sizes: Cut outer star shapes at 3 inches wide and inner star shapes at 1.75 inches wide.
- Contrasting Layer Pairs: Pair solid chambray or canvas base stars beneath lively gingham or ditsy floral top stars.
- Asymmetrical Placement: Scatter 3 to 5 star clusters organically along the clavicle line, shoulder seam, or wrist cuff.
- Central Accent Tack: Stitch through both stacked star layers simultaneously with a central cross-stitch or perimeter line.
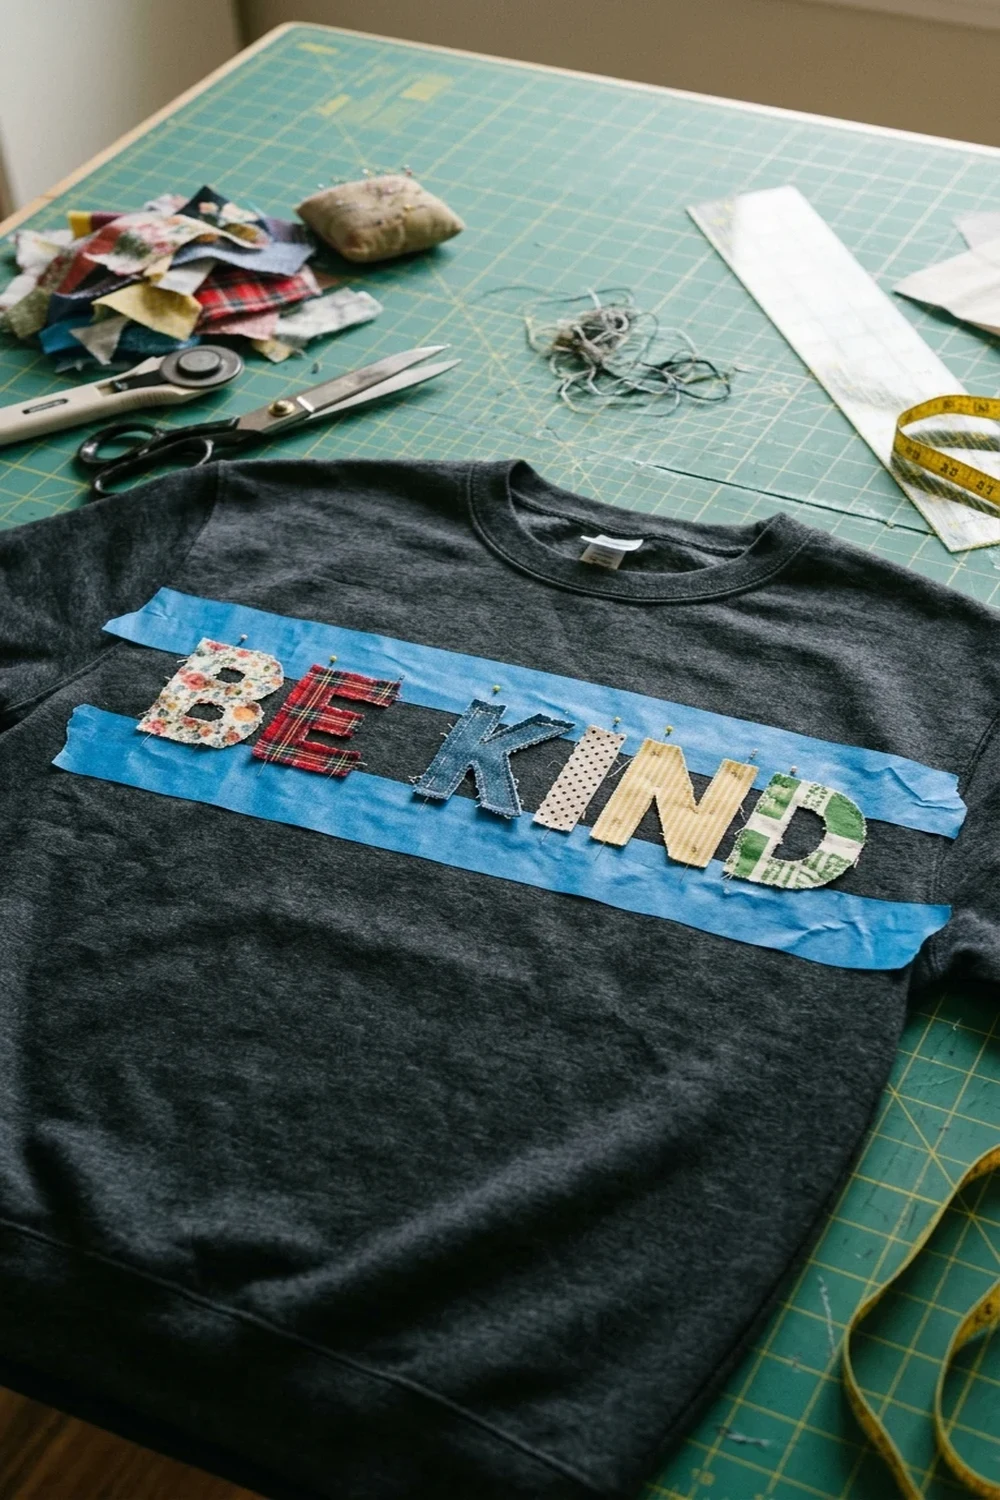
14. How to Align Graphic Phrase Patch Letters Across Chests
Creating a phrase patch layout lets you stamp motivating words or short retro slogans across a pullover with high graphic clarity. Maintaining a perfectly straight baseline using removable masking tape prevents letters from drifting downhill during sewing.
- Concise Word Limits: Restrict phrases to two or three short words to preserve optimal typographic proportions.
- Ruler Baseline Guide: Run low-tack blue painter tape across the sweatshirt chest to establish a level horizontal guideline.
- Kerning and Spacing: Space individual characters evenly, stepping back 6 feet to visually verify kerning before fusing.
- Consistent Stitch Settings: Maintain identical stitch length and needle tension across all letters for a uniform finish.

15. How to Sew a Scrappy Heart Block for Small Fleece Areas
A scrappy heart block is the ideal scrap-busting technique for embellishing smaller garment zones such as sleeves, chest pockets, or children’s wear. Using thin ribbon off-cuts and fabric strip scraps produces an intricate mosaic within a compact footprint.
- String-Piecing Technique: Sew narrow fabric ribbons and 1-inch strips together diagonally onto lightweight muslin foundation fabric.
- Fingertip Pressing: Press strip seams flat after each addition to keep the compact heart block thin and pliable.
- Precision Die or Template: Cut out a small 3-inch heart silhouette using sharp tailor shears to guarantee crisp curved lobes.
- Pocket or Cuff Placement: Center the petite heart motif over the left chest or just above the ribbed wrist cuff for subtle charm.
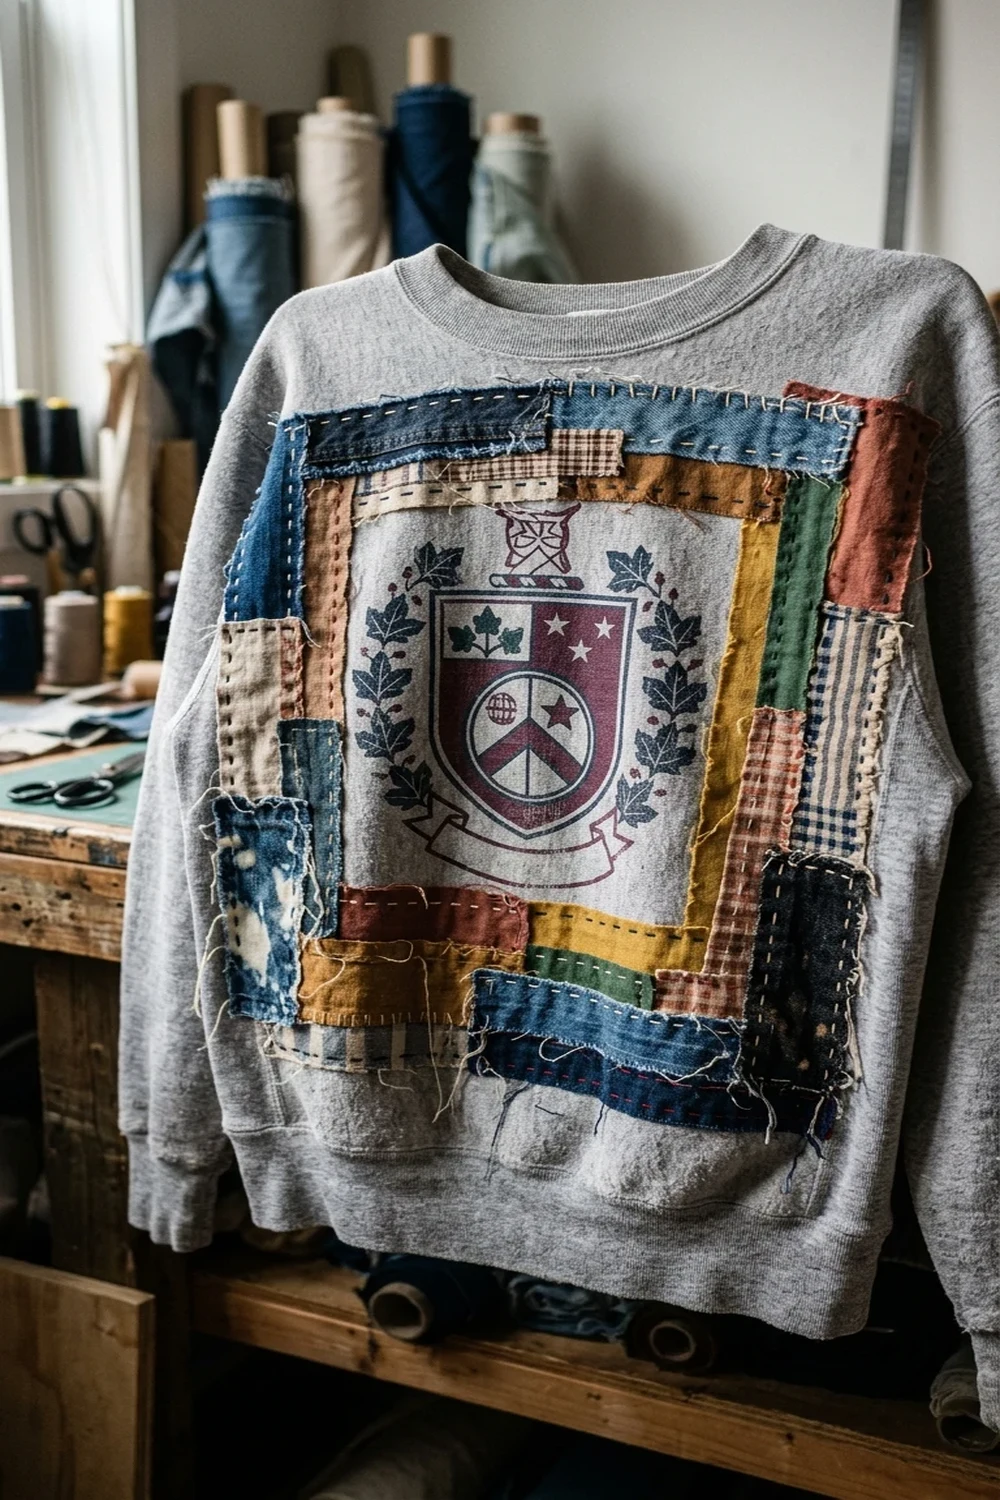
16. How to Frame and Upcycle a Mixed Logo Patch Sweatshirt
Upcycling a branded or graphic pullover with a mixed logo patch framing technique adds fresh artistic value while disguising stains or fabric wear. Framing existing screen prints with patchwork borders highlights original graphics while concealing worn fleece areas.
- Graphic Preservation: Identify the hero graphic and plan a 1-to-2-inch decorative scrap frame around its borders.
- Conceal Wear Marks: Strategically extend patchwork borders over bleach spots, pinholes, or cracked ink sections.
- Balanced Textile Mood: Pair neutral or understated scrap prints around busy multi-color logos to avoid visual clutter.
- Needle Check: Use a size 90/14 jersey needle when stitching through dense commercial screen-print plastisol inks.
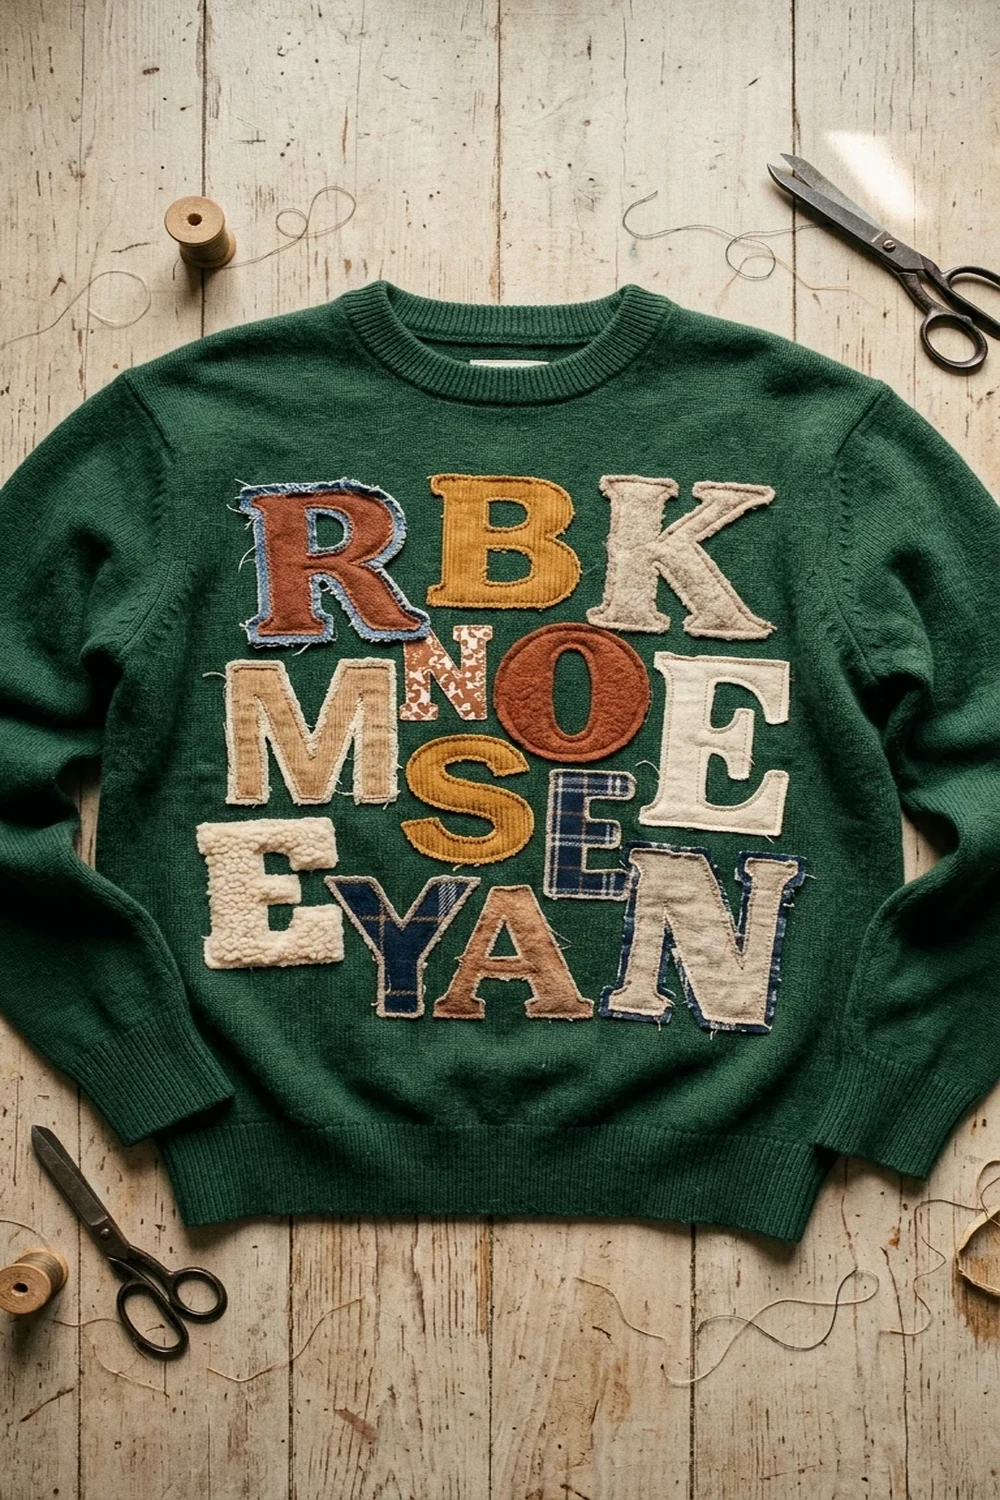
17. How to Create Quick Mixed Fabric Letters Without Piecing
Cutting each letter from a different standalone fabric scrap delivers an eclectic, high-contrast typography style without requiring laborious pre-piecing. This rapid approach maximizes contrast against the base sweatshirt while making the word instantly readable.
- Single-Fabric Cuts: Cut each individual letter directly from a distinct patterned or solid fabric off-cut.
- High-Contrast Selection: Select fabrics that stand out sharply against the base sweatshirt shade for instant legibility.
- Audition Sequencing: Rearrange fabric prints across letters on your workspace until adjacent colors balance harmoniously.
- Fast Edge Stitching: Fuse letters firmly to the chest, then trace edges with a 2.5mm zigzag stitch for clean containment.
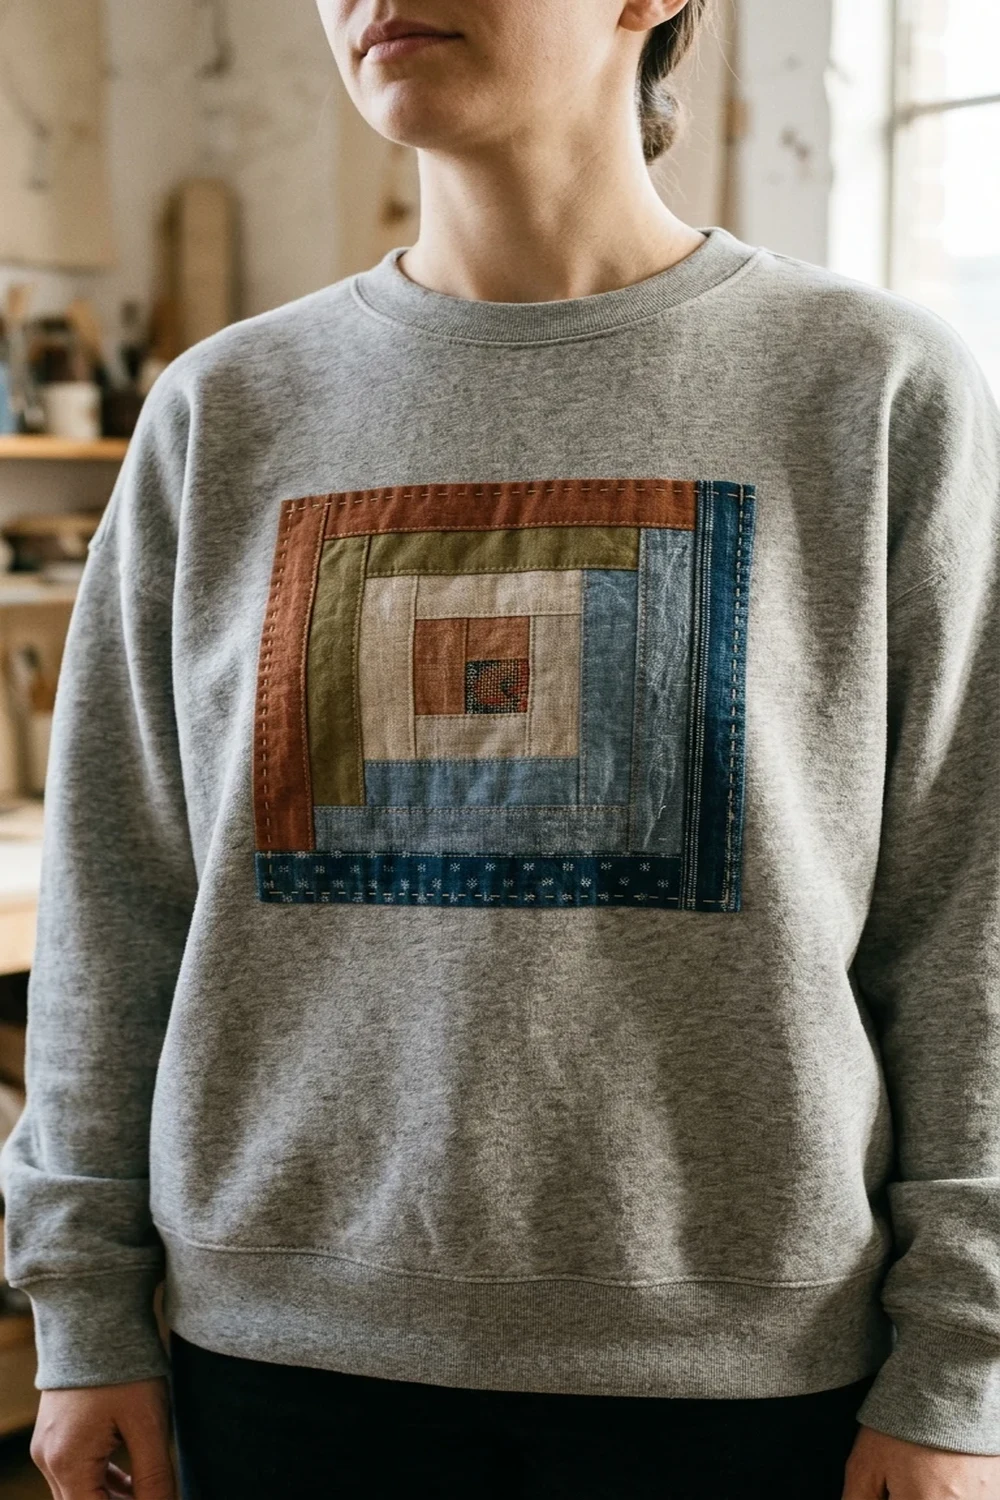
18. How to Assemble a Show-Stopping Center Patch Panel
A large central patchwork panel is the most striking statement design you can sew onto an oversized or boxy crewneck silhouette. Constructing an independent square or log-cabin block off-garment allows you to create complex seam structures without handling heavy fleece.
- Off-Garment Construction: Sew a full 10×10 or 12×12 inch quilt block entirely on your worktable before touching the garment.
- Log Cabin or Grid Design: Use classic log cabin strips, courthouse steps, or nine-patch grids for architectural geometry.
- Generous Garment Canvas: Select boxy drop-shoulder sweatshirts so large panels sit flat without wrapping around armholes.
- Edge Binding or Fold: Press panel outer margins under by 1/4 inch or bind edges with cotton tape for a clean finish.
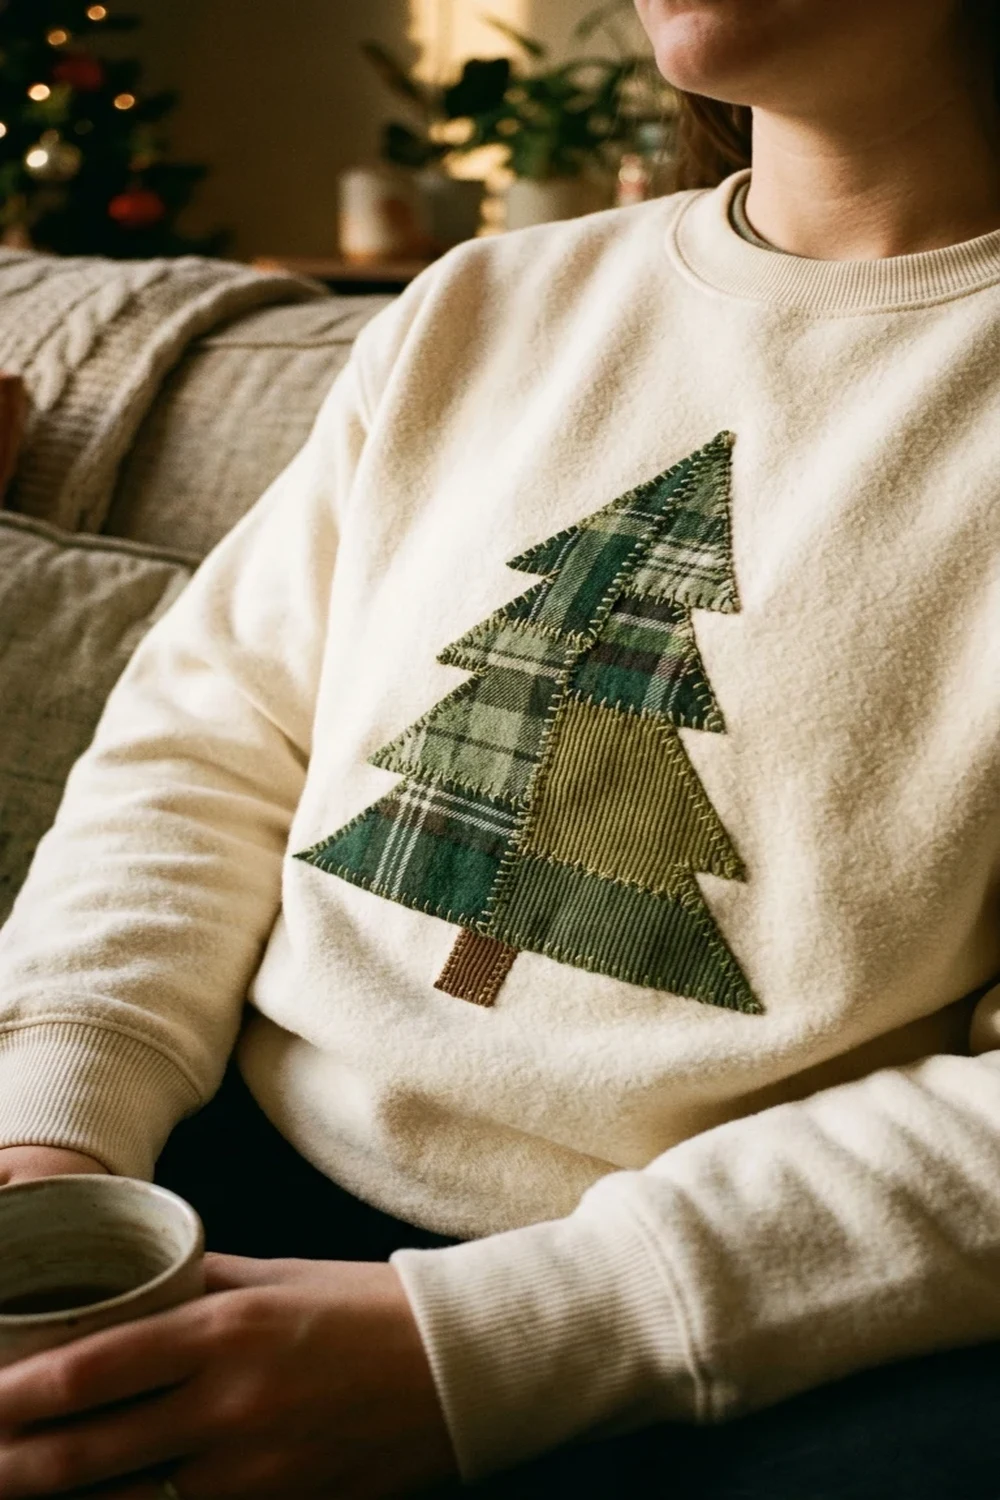
19. How to Sew a Seasonal Patchwork Tree Shape Motif
Sewing a patchwork tree shape illustrates how easy it is to adapt scrap appliqué techniques to celebrate festive holidays and seasonal aesthetics. Constructing stacked triangular tiers or geometric evergreen silhouettes lets you blend cozy flannels, ginghams, and rustic linens.
- Stacked Tier Templates: Cut three progressively sized triangular patchwork blocks to build a layered evergreen silhouette.
- Rustic Fabric Blends: Combine forest green plaids, houndstooth wool off-cuts, and cream linen for an artisan seasonal vibe.
- Trunk Base Anchor: Add a sturdy brown corduroy or faux leather rectangle at the base to ground the tree silhouette.
- Perimeter Edge Stay: Stitch the connected tree assembly onto the chest using a warm blanket stitch or narrow zigzag.
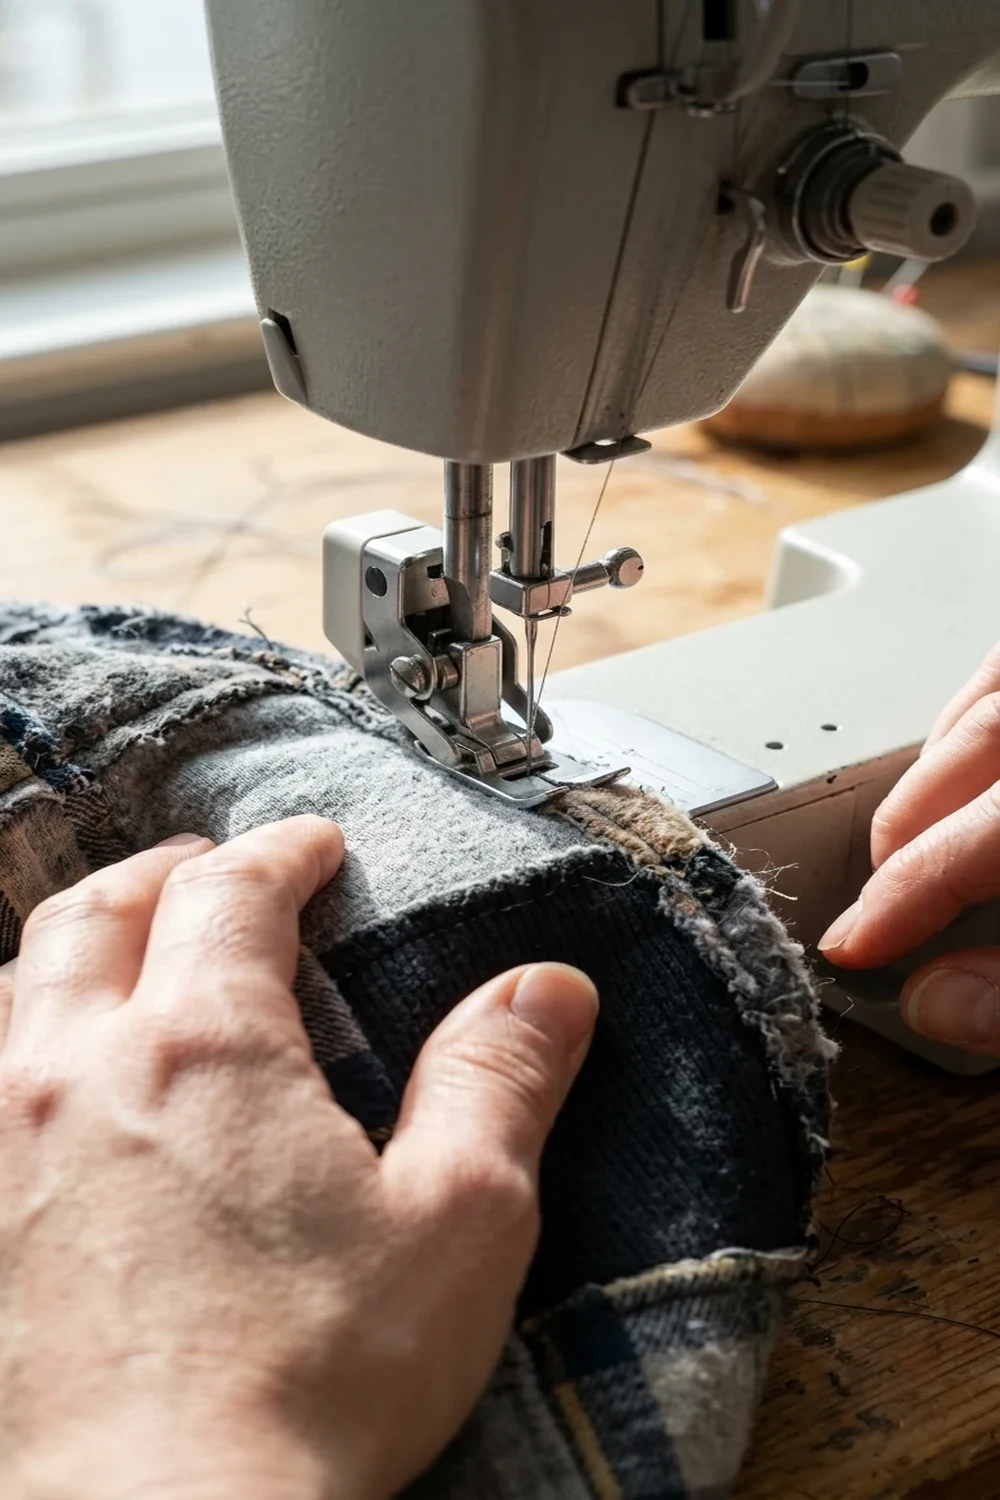
20. How to Keep Patchwork Flat on a Stretchy Sweatshirt
Keeping patchwork completely flat on flexible fleece requires matching your presser foot tension and letting machine feed dogs advance fabric without manual pulling. When sewists pull stretchy knit garments under the needle, the seams rebound into unsightly ripples and waves.
- Neutral Fabric Guidance: Guide the garment gently with open palms without stretching or dragging the fleece backward.
- Walking Foot Attachment: Install a walking foot or dual-feed foot to move top patches and bottom fleece at the identical speed.
- Reduced Foot Pressure: Decrease presser foot tension on your sewing machine to prevent pushing a fabric wave ahead of the needle.
- Immediate Pucker Inspection: Pause sewing instantly if ripples begin forming; unpick three stitches and re-baste flat before continuing.

21. What Fabric Works Best for Sweatshirt Patchwork Appliqué?
Medium-weight 100% quilting cotton is the absolute best fabric choice for sweatshirt patchwork due to its dimensional stability, crisp cutting edges, and rich print selection. Combining uniform fabric weights prevents awkward puckering and makes edge finishing effortless.
- 100% Quilting Cotton: Offers optimal stability, presses knife-sharp, resists fraying, and matches fleece laundry shrinkage profiles.
- Lightweight Woven Denim: Provides rugged streetwear durability when used as patch framing or large graphic bases.
- Vintage Flannel Scraps: Adds warm brushed softness that complements cozy fleece textures perfectly in cool seasons.
- Fabrics to Avoid: Steer clear of high-spandex knits and slippery silks, which stretch unpredictably and distort under needle pressure.

22. How Should You Finish the Edges of Sweatshirt Patchwork?
Choosing between a clean zigzag satin stitch, a minimalist straight stay-stitch, or an intentionally raw fringe determines the entire personality and durability of your garment. Testing your chosen finish on a scrap sandwich ensures needle tension matches your design vision.
- Tight Satin Border: A 2.0mm to 3.0mm width zigzag stitch with 0.4mm length provides maximum anti-fray protection.
- Casual Straight Stitch: A simple straight line 1/8 inch inside the boundary yields a modern, unpretentious handmade look.
- Raw-Edge Soft Fray: Leaving borders unhemmed allows washing machines to feather cotton margins into cozy distressed textures.
- Blanket Topstitch: Hand or machine blanket stitching delivers an artisanal heirloom finish ideal for folksy quilt blocks.
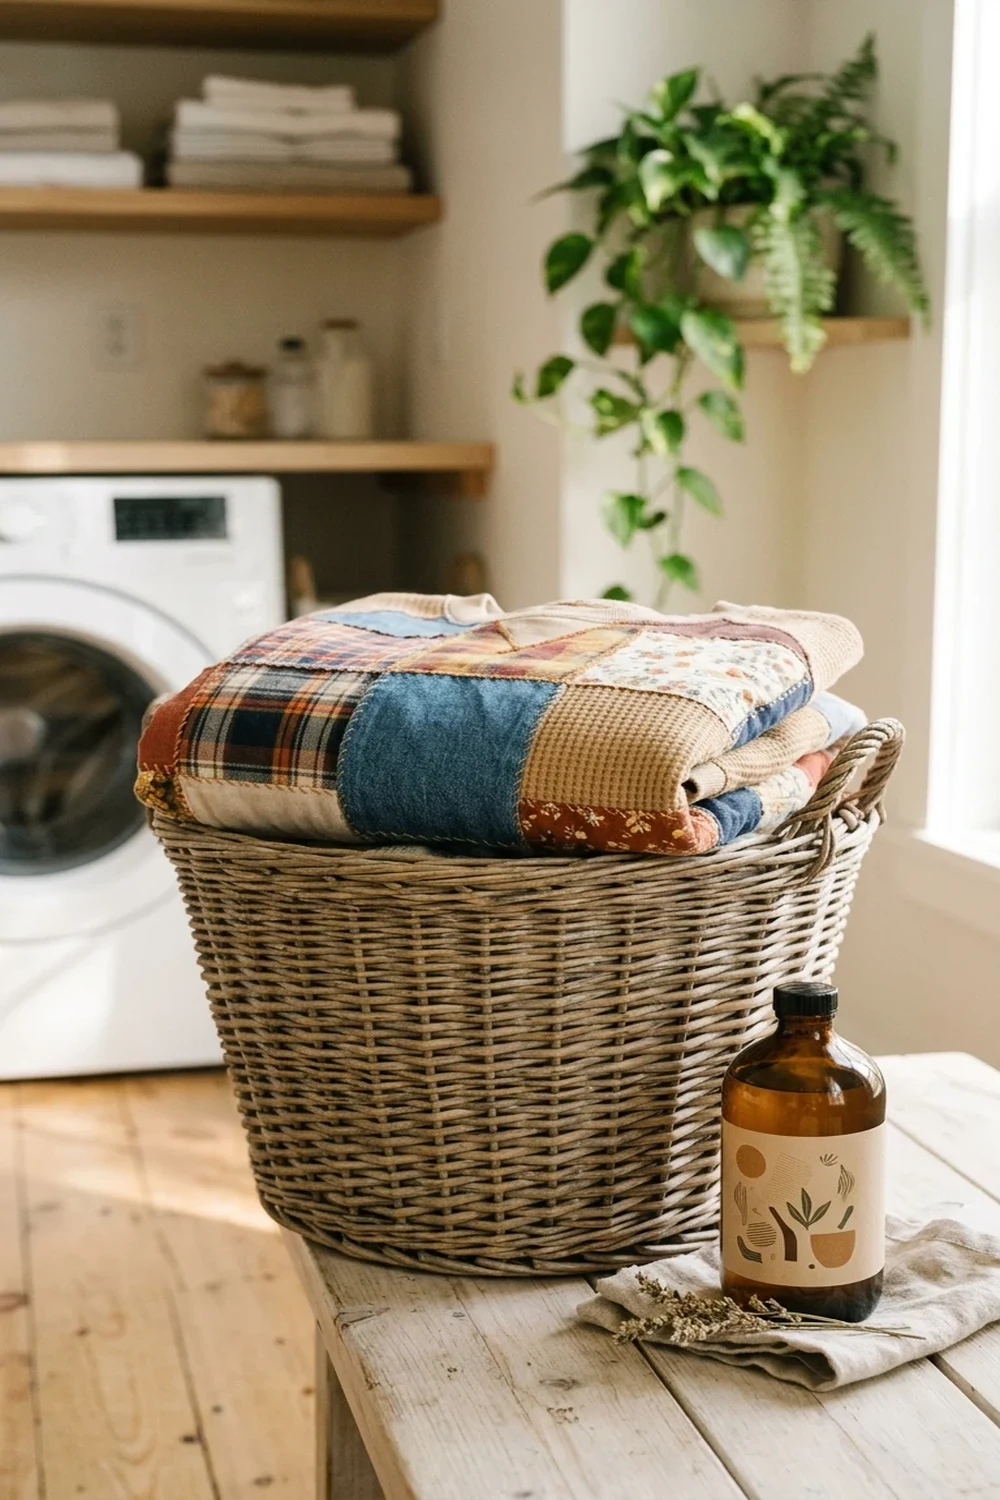
23. How to Wash and Care for a Patchwork Sweatshirt
Washing your custom patchwork sweatshirt inside out on a gentle cold cycle protects delicate edge stitching and prevents contrasting scrap dyes from bleeding. Proper drying techniques ensure both the fleece knit and woven patches retain their original dimensions.
- Inside-Out Laundering: Turn the garment inside out prior to washing to protect thread borders against abrasive drum rubbing.
- Cold Water Cycle: Wash with cold water (30°C/85°F) using gentle liquid detergent to safeguard delicate fiber bonds.
- Low Heat or Air Dry: Lay flat on a towel or tumble dry on ultra-low heat to avoid uneven shrinkage between fleece and patches.
- Targeted Steam Pressing: Iron the appliqué section with medium steam from the reverse side to refresh crisp patch flatness.
24. Frequently Asked Questions About Patchwork Sweatshirts
Navigating sweatshirt upcycling requires understanding how stretchy knitwear interacts with rigid woven quilt blocks during stitching and everyday wear. Reviewing expert solutions to frequent maker dilemmas ensures your DIY projects remain durable, comfortable, and flawlessly flat.
- Skill Level Requirements: Beginner sewists can complete stunning appliqués using basic straight-stitch home machines.
- Tool Essentials: A sharp pair of fabric shears, cut-away backing, fusible web, and an iron cover all fundamental needs.
- Garment Suitability: Works equally well on pre-owned thrifted sweatshirts, vintage hoodies, or brand-new fleece blanks.
- Longevity Expectations: Properly stabilized and edge-stitched patchwork garments endure years of weekly machine laundering.
25. Can I Embroider and Stitch a Sweatshirt Without Stabilizer?
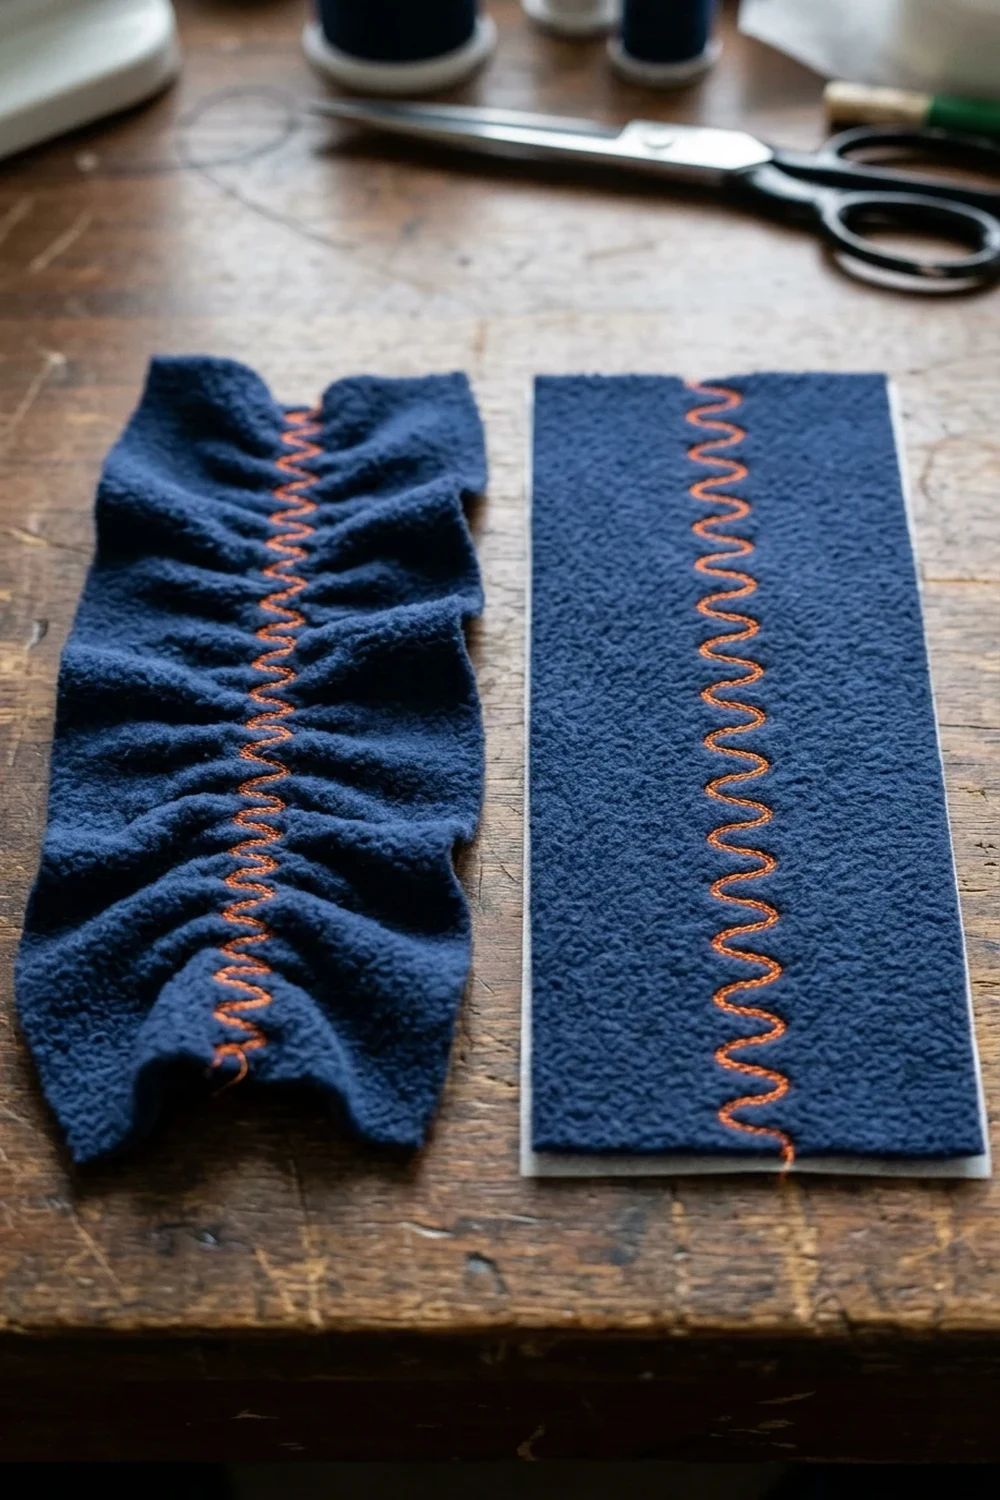
You should never embroider or stitch dense patchwork on a sweatshirt without stabilizer because the knit fabric stretches under needle tension and produces permanent puckering. Stabilizer is mandatory to counteract presser foot drag and preserve crisp outlines.
- Knit Fabric Vulnerability: Fleeces naturally flex horizontally and vertically, causing unbacked thread work to pucker instantly.
- Permanent Distortions: Once a knit stretches while being stitched, removing the wavy distortion later with an iron is impossible.
- Needle Penetration Drag: Machine needles push stretchy fibers downward into the needle plate hole without a firm stabilizer foundation.
- Emergency Alternative: In an absolute pinch, basting lightweight woven cotton muslin underneath provides minimal temporary backing.
26. Should I Hoop the Sweatshirt or Float It for Appliqué?
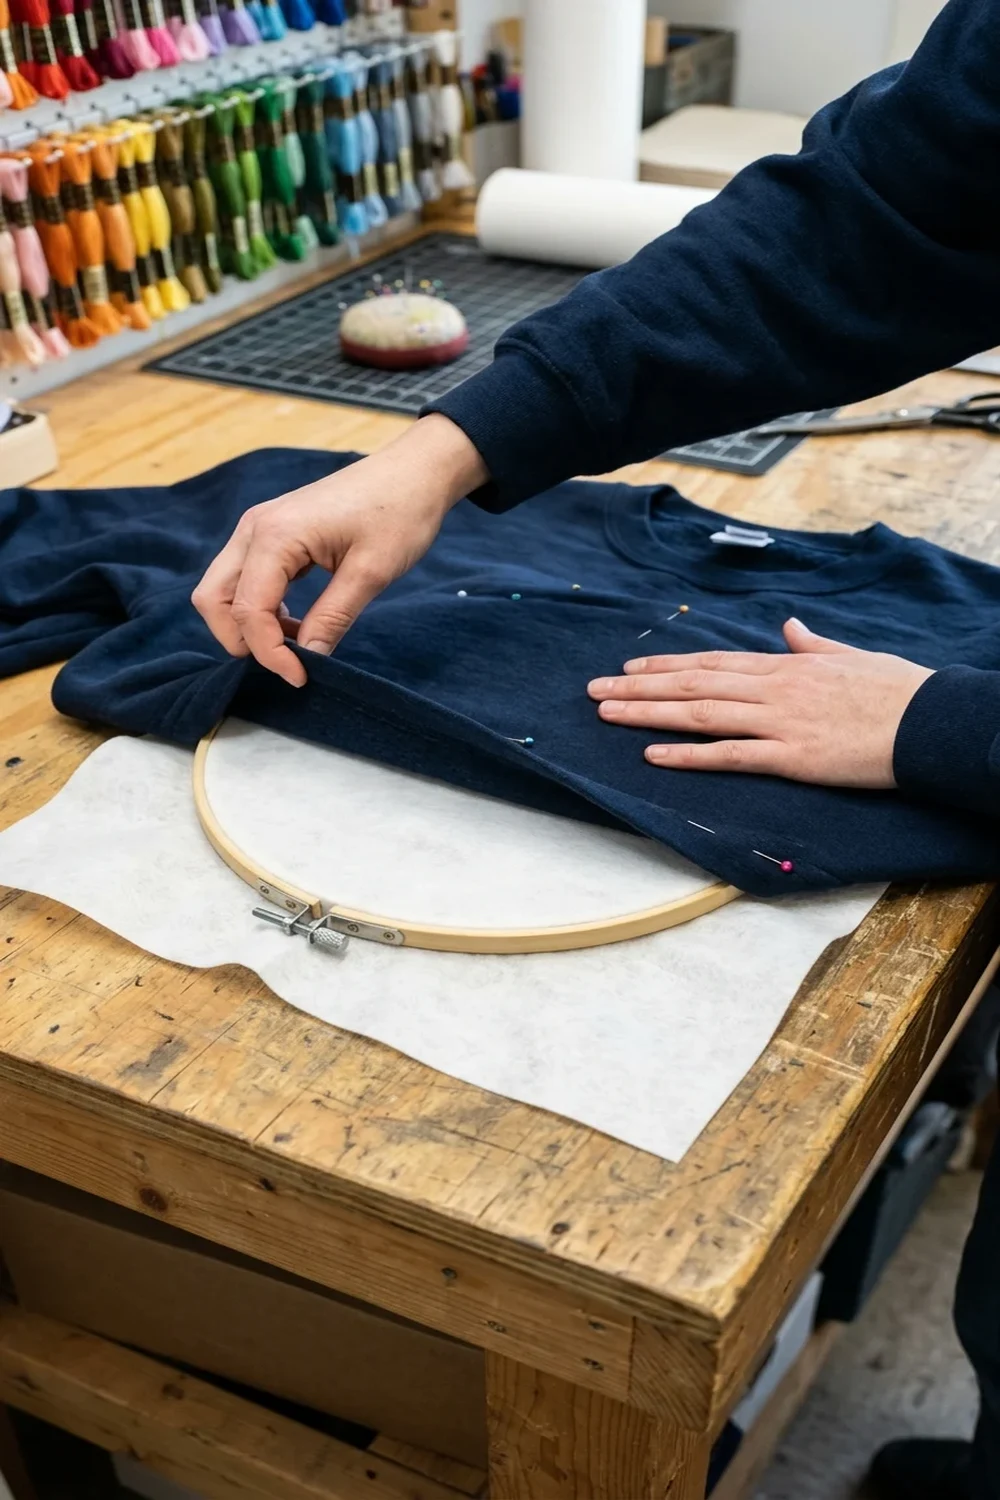
Floating the sweatshirt over hooped stabilizer is the superior technique for preventing hooping burn marks and avoiding stretching thick fleece out of shape. Hooping only the backing sheet protects bulky garment seams from mechanical clamp crushing.
- Prevent Hoop Burn: Heavy fleece crushed inside tight plastic embroidery hoops often suffers permanent fiber bruising.
- Eliminate Pre-Stretch: Floating ensures the garment rests in its natural, relaxed state without accidental pre-stretching.
- Hoop the Backing Only: Fasten your cut-away stabilizer firmly into the hoop until it is taut like a drum skin.
- Secure by Floating: Position the sweatshirt over the hooped backing using temporary basting spray or a peripheral basting box.

27. Do I Need Fusible Web for Patchwork Appliqué on Fleece?
While fusible web is not strictly compulsory, using it dramatically improves patchwork results by eliminating fabric migration and bunching while stitching. Sewists who skip fusible web must pin excessively and risk distorted, wavy appliqué borders.
- No Pin Shifting: Replaces dozens of awkward sewing pins that snag machine presser feet and warp stretchy fleece.
- Crisp Outer Margins: Prevents woven patch edges from rolling inward or fraying prematurely during active sewing.
- Hand-Basting Substitute: If avoiding heat adhesives, hand-baste perimeter edges with long temporary running stitches.
- Drape Consideration: Choose lightweight or featherweight fusible web formulations so your chest panels stay comfortable and flexible.

28. Can I Make a Patchwork Sweatshirt Without an Embroidery Machine?
You do not need an embroidery machine to create high-end patchwork sweatshirts because a standard domestic sewing machine handles appliqué flawlessly. Simple straight stitches, zigzags, and even traditional hand stitching produce beautiful, durable results.
- Standard Home Machines: Any entry-level mechanical or electronic home sewing machine can execute straight and zigzag stitches.
- Hand-Sewing Alternatives: Hand sashiko stitching, running stitches, or blanket stitches create stunning artisan textures.
- Free-Motion Option: Dropping machine feed dogs on standard machines allows creative freehand outlining without computerized tools.
- Universal Access: The most iconic vintage patchwork sweatshirts in fashion history were made entirely using simple manual stitches.
29. Why You Should Start With One Small Patch First
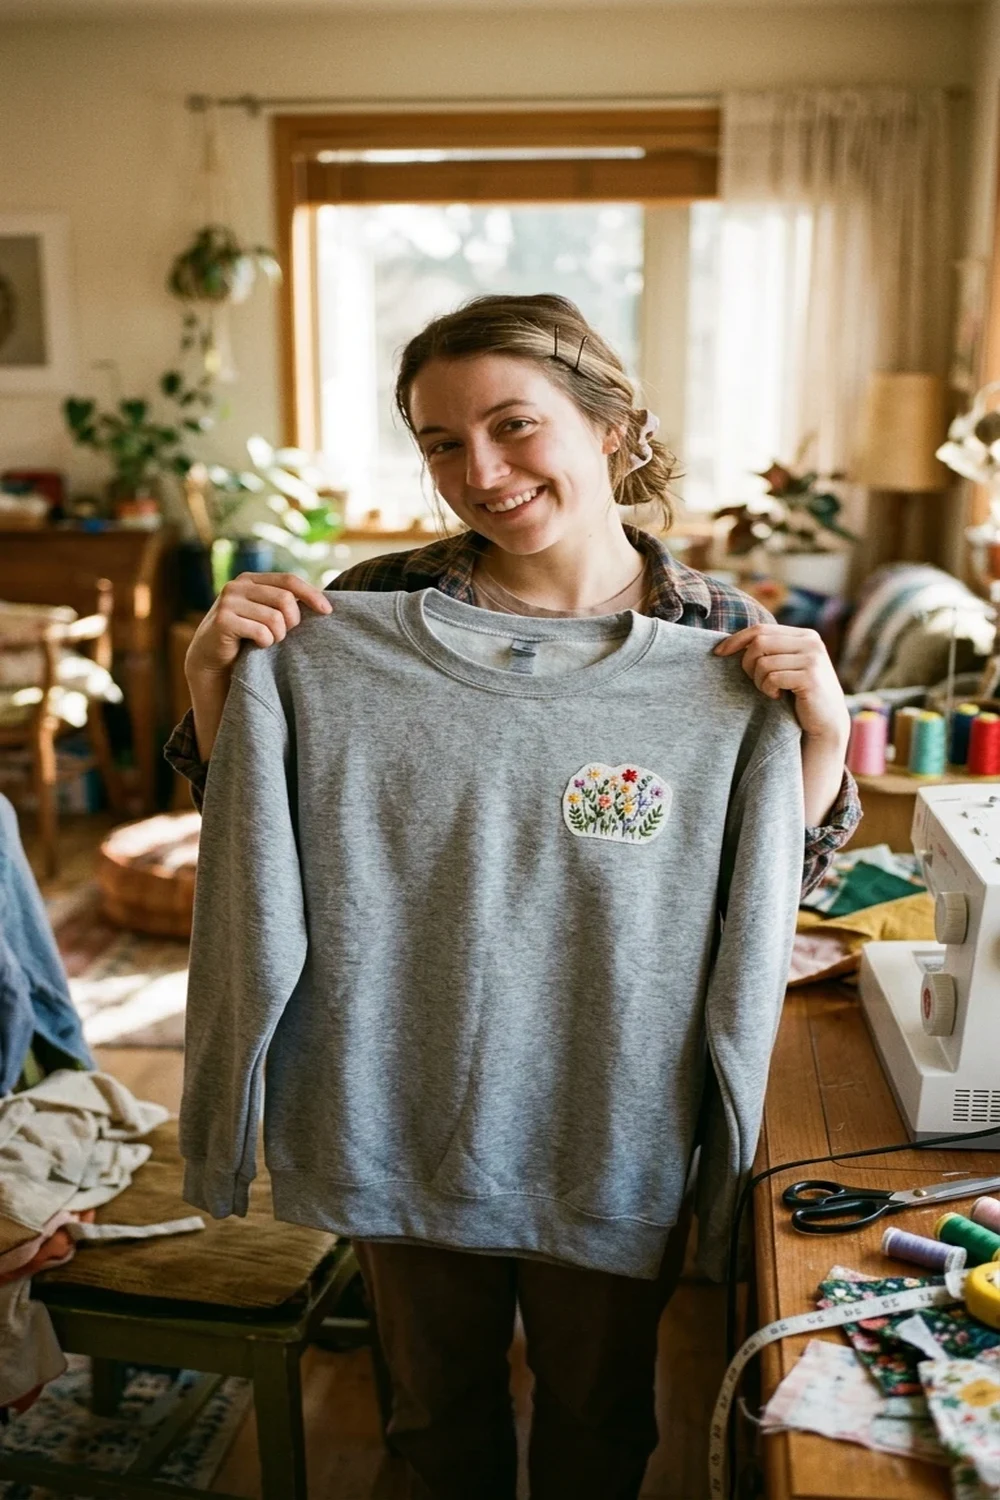
Beginning your upcycling journey with one small patch allows you to master fabric tension, needle calibration, and stabilizer behavior without risking an entire garment. Tackling a petite 3-inch shape builds foundational muscle memory before attempting elaborate back panels.
- Zero-Risk Learning: Test how your specific sweatshirt fleece stretches under the needle on a minor chest or sleeve accent.
- Stitch Calibration: Fine-tune your machine zigzag width, thread tension, and presser foot pressure on a modest scale.
- Quick Completion: Complete a charming, wearable upcycled piece in less than 45 minutes to build creative momentum.
- Progressive Confidence: Transition smoothly to complex multi-piece lettering and expansive quilted back blocks once comfortable.
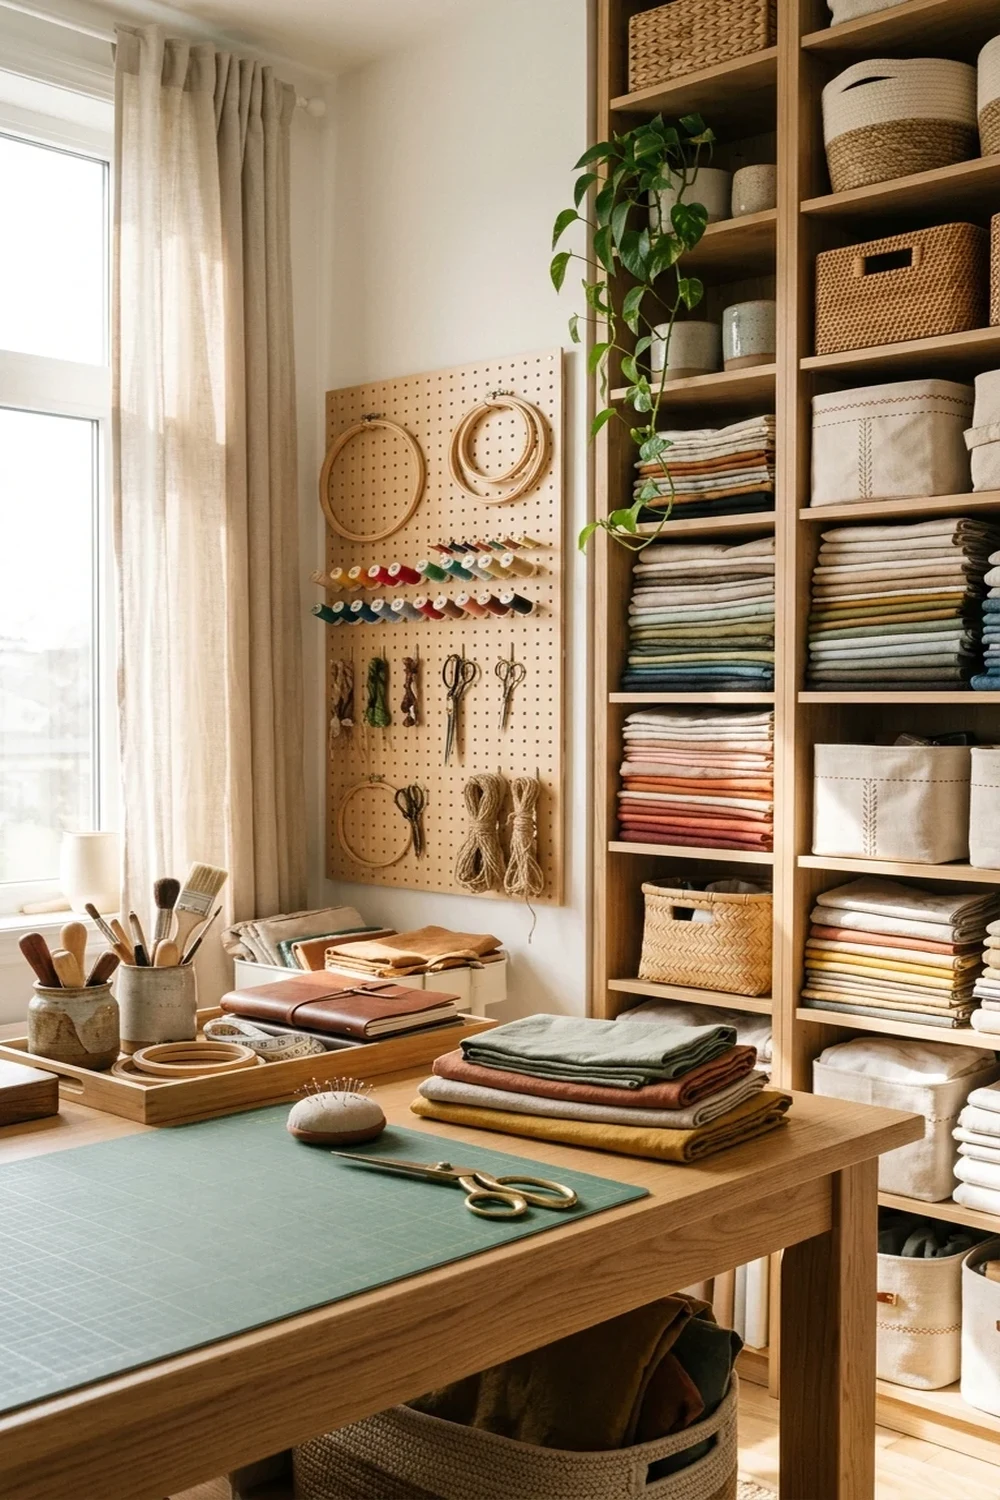
30. More Creative Upcycling and DIY Ideas You Might Like
Expanding your handmade crafting repertoire keeps your creative momentum flowing and transforms leftover textiles into functional household solutions. Exploring complementary organizational and upcycling projects sharpens practical crafting skills across diverse mediums.
- Creative Skill Synergy: Exploring storage, cork, and jewelry display projects sharpens spatial layout and tool techniques.
- Fabric Scrap Repurposing: Leftover scraps from sweatshirt appliqués integrate seamlessly into lined storage bins and pinboards.
- Eco-Friendly Upcycling: Transforming everyday surplus items into stylish home organization reduces household environmental waste.
- Home Decor Coordination: Match your personalized craft wardrobe accents with handmade functional accents throughout your home.
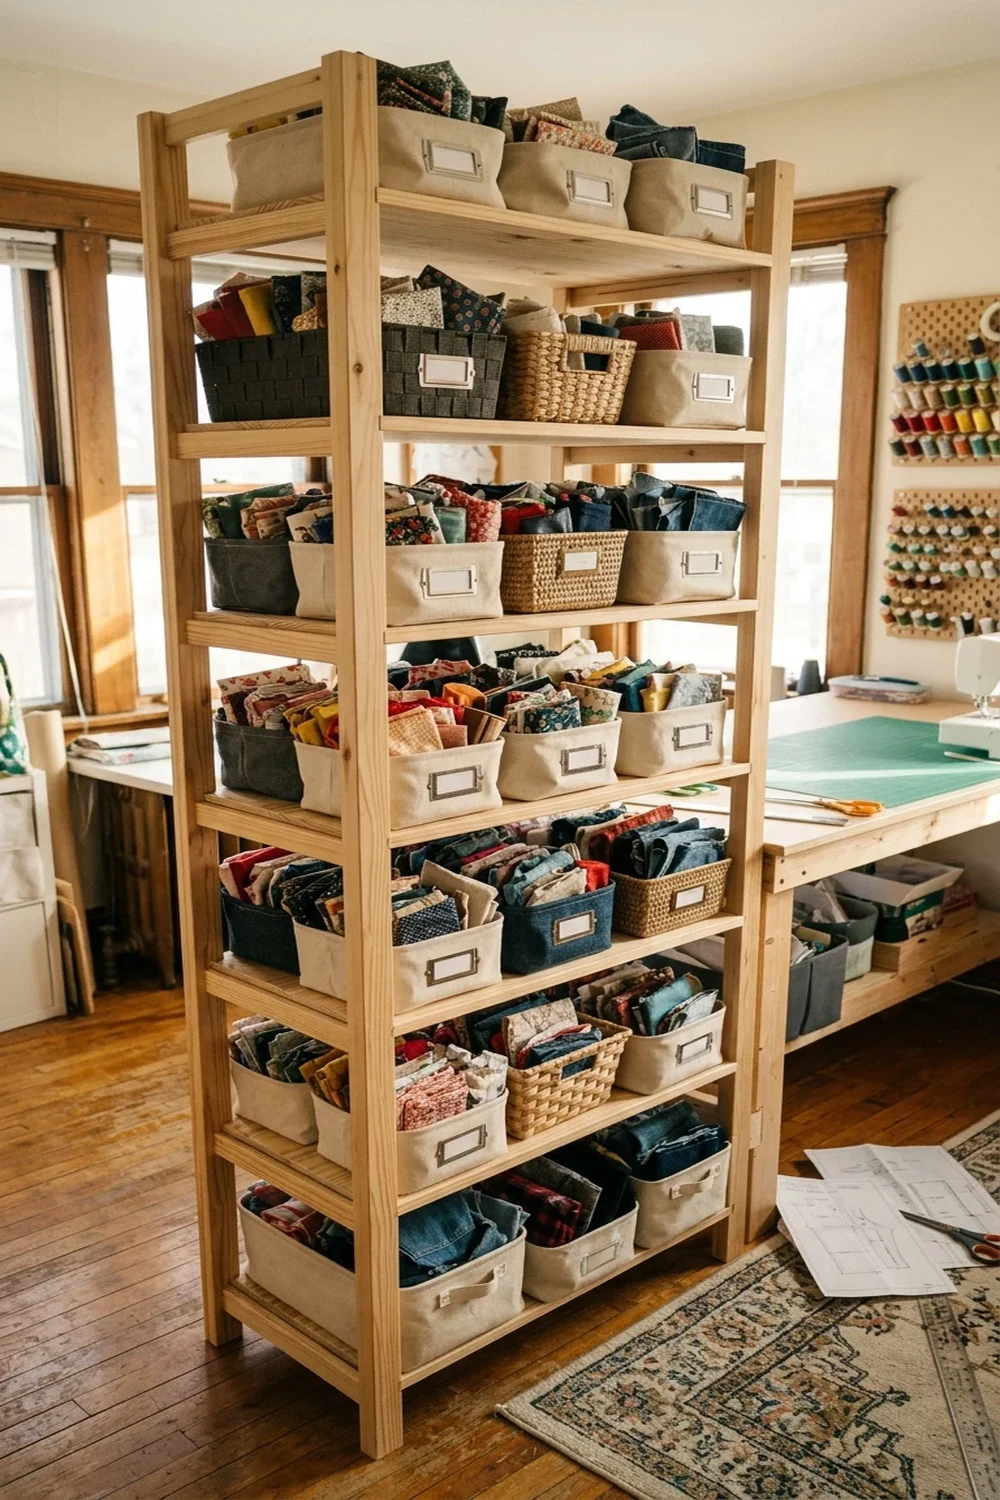
31. 18 Storage Bin Rack DIY Ideas for 2026 Home Organization
Building a custom DIY storage bin rack provides an efficient, space-saving solution to organize sewing remnants, notions, and garment blanks systematically. Sturdy wooden slide-out tracks keep plastic or fabric bins accessible without messy stacking.
- Vertical Floor Space: Maximizes vertical wall space in compact craft studios, closets, and laundry utility rooms.
- Slide-Out Wood Cleats: Simple wooden wall runners allow storage bins to slide smoothly in and out without stacking.
- Scrap Color Sorting: Dedicate individual labeled tubs for cotton scraps, fleece off-cuts, denim, and notions.
- Budget Wood Materials: Construct durable freestanding organizer towers easily using affordable 2×4 lumber and plywood cleats.
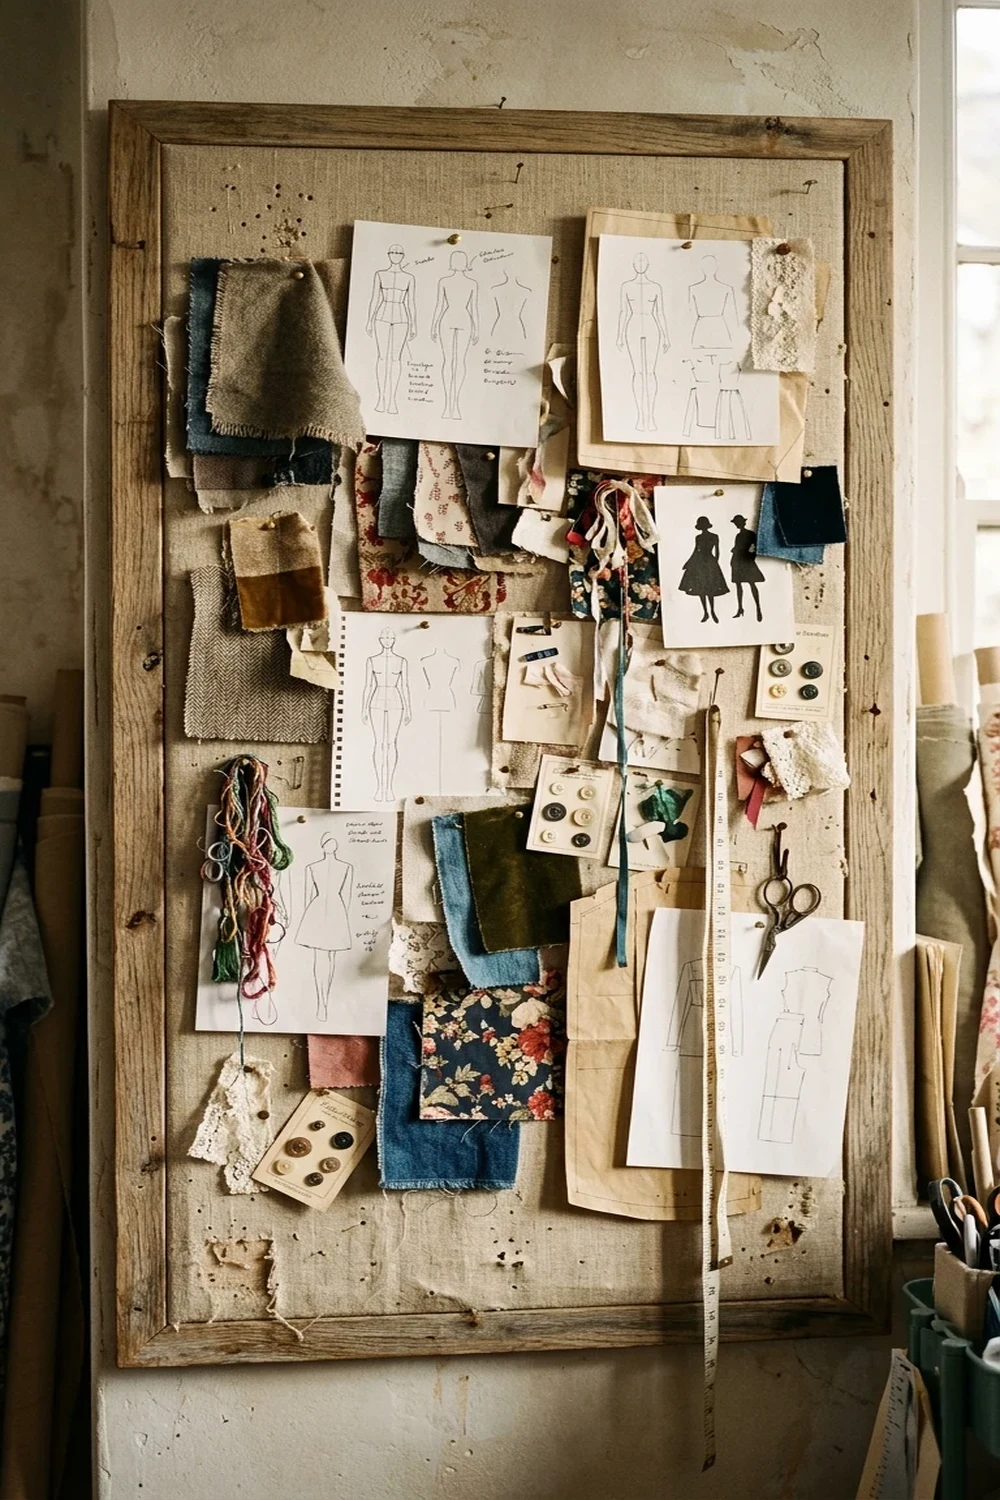
32. 18 DIY Cork Board Ideas for 2026 Creative Inspiration
Constructing a custom DIY cork board offers an inspiring visual mood board to pin fabric swatches, color combinations, and embroidery sketches. Upcycling wine corks, framed sheet cork, or fabric-wrapped bulletin panels enhances both productivity and room decor.
- Visual Project Planning: Pin patchwork pattern mockups, thread samples, and silhouette ideas directly above your machine.
- Fabric-Wrapped Aesthetics: Cover basic utility cork boards with remnant linen or gingham for an elevated studio look.
- Geometric Cork Tiles: Arrange self-adhesive hexagon or diamond cork panels in custom wall configurations.
- Upcycled Wine Corks: Glue leftover natural wine corks in herringbone patterns inside vintage wooden frames for rustic charm.

33. 16 DIY Ring Holder Ideas for 2026 Jewelry Storage
Crafting a personalized DIY ring holder creates an elegant vanity dish or sewing-table tray to safeguard jewelry while you sew and handle fabrics. Sculpting air-dry clay cones, miniature ceramic trays, or fabric ring rolls provides quick handmade gratification.
- Machine Safety Habit: Storing rings safely prevents jewelry from snagging delicate knit threads or scratching sewing gear.
- Air-Dry Clay Cones: Mold modern minimalist clay cones painted with metallic gold accents to stack rings neatly.
- Fabric Roll Organizers: Roll leftover velvet or cotton batting scraps into neat fluted channels inside vintage jewelry tins.
- Quick Gift Craft: Fast 30-minute crafting project that makes a thoughtful handmade gift alongside upcycled garments.
Key Takeaways & Final Thoughts on Patchwork Sweatshirts
Upcycling a plain sweatshirt into a custom patchwork masterpiece is an achievable, deeply rewarding project for sewists of all experience levels. Success hinges on three foundational principles: always pre-washing your textiles, permanently stabilizing stretchy fleece knits with cut-away backing, and pre-assembling complex scrap layouts off-garment before topstitching.
Start by auditing your scrap collection and picking a simple chest heart or single letter motif to master your machine tension and feed settings. As your confidence grows, explore ambitious statement back appliqués and collegiate phrase layouts to build a completely unique, sustainable wardrobe that showcases your creative vision.